Many wish for nail polish that stays radiant and chip-free for days. Most consider it a matter of luck if the polish shines for more than two days. In fact, there are very simple steps with which you can massively increase durability – with careful preparation, nails can stay perfectly polished for up to a week. What makes the crucial difference surprises almost everyone.
Table of contents
Quick summary
| Key points | Explanation |
| 1. Thorough nail cleaning first | Thoroughly clean your nails to remove oily residues that can impair the adhesion of the polish. |
| 2. Use a high-quality base coat | A good base coat provides a smooth foundation and significantly improves the adhesion of the color polish. |
| 3. Apply nail polish in thin layers | Apply the polish in two thin layers to ensure quick drying and durability. |
| 4. Use top coat for additional protection | A high-quality top coat protects the polish and adds shine, thereby extending the lifespan of your manicure. |
| 5. Schedule regular nail care | Daily care and weekly routine strengthen the nails and maintain their health in the long term. |
Step 1: Prepare your nails
If you are looking for a nail polish that really lasts long, success begins even before the first color application. Preparing your nails is crucial for a perfect and long-lasting manicure. A carefully prepared nail creates the optimal foundation for a brilliant and durable polish.
The perfect nail preparation
Start with a thorough cleaning of your nails. Wash your hands with a mild soap product and dry them completely. Important: Do not use hand cream beforehand, as fat residues can massively impair polish adhesion. Gesundheit.de recommends keeping nails completely grease-free before painting.
Then focus on nail care. Gently push back the cuticles and remove old polish residues with an acetone-free nail polish remover. A Naturnagel-Reiniger can be very helpful to reliably remove fats and residues. Make sure to gently roughen the nail surface – this significantly improves polish adhesion.
For an optimal result, you can optionally use a adhesion promoter. This ensures a better bond between your nail and the polish. Find more tips for perfect nail care in our special guide.
Attention: Avoid soaking or wetting your nails for too long before painting. Moist nails can cause the polish to chip faster later. The ideal preparation is dry, clean, and grease-free.
To keep the entire process clear, this table offers a compact step overview with main actions and focuses for long-lasting nail polish.
| Step | Important action | Focus/Special tip |
| 1. Nail preparation | Thorough cleaning, Naturnagel-Reiniger, cuticles | Nails must be dry & grease-free |
| 2. Apply base coat | Select high-quality base coat, thin and even | Choose base coat suitable for nail structure |
| 3. Apply color polish | Two thin layers, 3-brush technique, seal tips | Wait 2-3 minutes between layers |
| 4. Seal with top coat | Apply thinly & evenly, including nail tips | Renew top coat every 2-3 days |
| 5. Daily care | Moisturize, push back cuticles, file nails | Never use nails as tools |
Step 2: Choose the right Base Coat
The base coat -Base Coat- is the invisible hero of your manicure - it largely determines how long your nail polish lasts and how perfect it looks. A high-quality base coat not only creates a smooth base but also supports adhesion and protects your nails.
The foundation for perfect polish
When it comes to the Base Coat, there are crucial aspects to consider. First, you should focus on quality. A professional base coat ensures a smooth nail surface and prevents color pigments from embedding directly into your nail. Especially important: Choose a base coat that not only prepares your nails but also cares for them.
Modern base coats today offer more than just a primer. They can smooth out ridges, stabilize the nail structure, and even protect against discoloration. Discover our professional nail care tips in our comprehensive guide to find the perfect base coat strategy for your nails.
When applying, make sure to apply the base coat thinly and evenly. It is important to include the nail edges and tips - just like with the later color application. Let the base coat dry completely before applying the color polish. Gesundheit.de recommends letting the base coat dry completely to ensure optimal adhesion.
This table compares various properties and benefits of base coat and top coat to clearly present their specific functions and advantages in the nail polish process.
| Product | Main function | Additional benefits | Recommended application |
| Base coat | Smooth base, adhesion for color polish | Prevents discoloration, evens out ridges | Apply thinly, dry completely |
| Top Coat | Shield, sealing | Extra shine, UV protection, faster drying | Apply thinly, renew regularly |
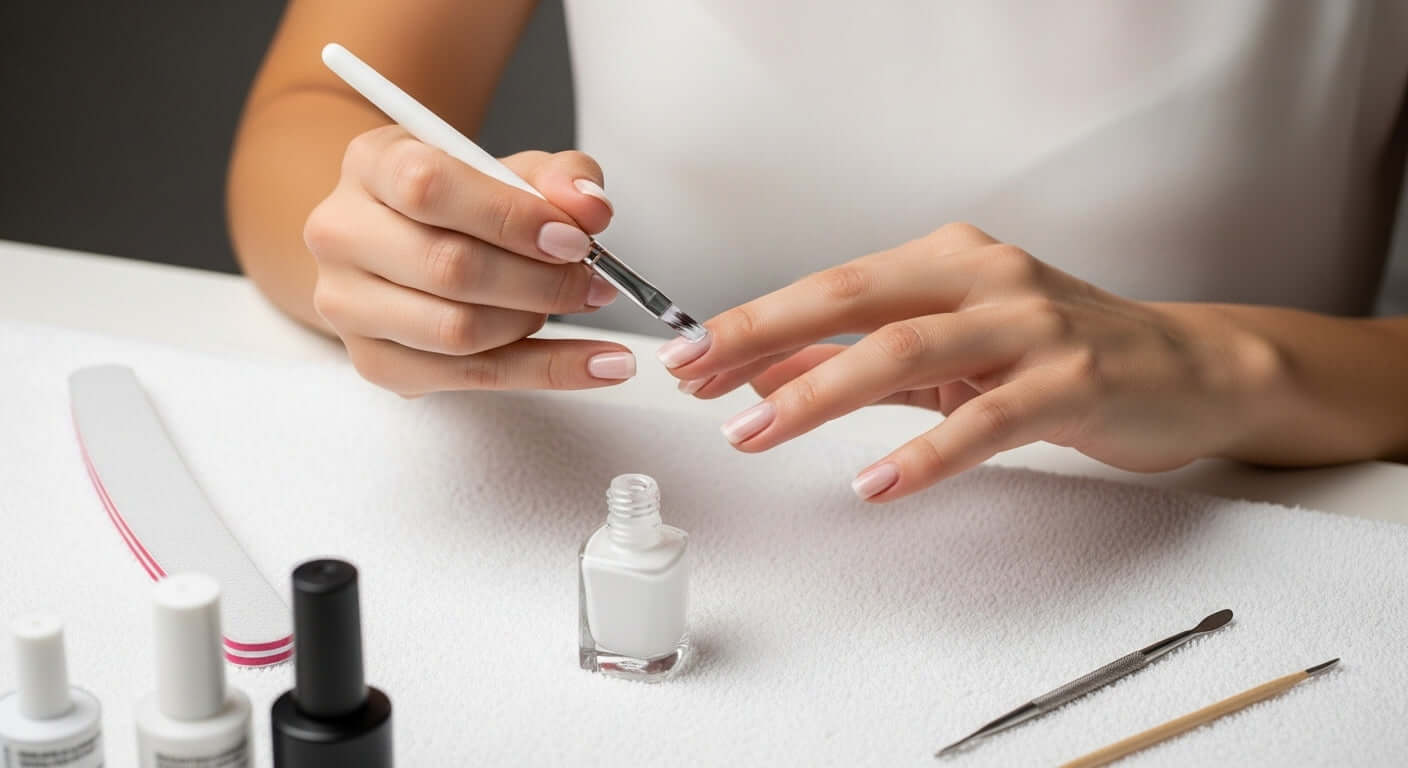
Step 3: Apply the nail polish correctly
The correct application of nail polish not only determines the final result but also the durability of your manicure. A professional technique differs significantly from superficial brushing and can make the difference between a chip-free look and quickly peeling polish.
The pro technique for perfect nails
Start with a steady, calm hand and good lighting. The polish should be neither too thick nor too thin - a balanced application is crucial. Important: Dip the brush only lightly into the polish bottle and wipe off excess polish on the bottle neck. Find our detailed guide for perfect polish application here.
Apply the polish in three precise strokes: first a stroke in the center of the nail, then to the left and right beside it. Make sure to seal the nail tips with a light cross stroke - this prevents quick chipping. Stiftung Warentest recommends letting the polish dry briefly between layers to ensure optimal adhesion.
For a particularly long-lasting manicure, prefer two thinner layers instead of one thick one. Thicker layers dry more slowly and are more prone to cracking. Allow about 2-3 minutes between layers so the previous coat can set.
 Use light, even brush strokes and avoid drips or uneven spots.
Finally, seal your polish with a transparent protective layer. This sealing not only protects against chipping but also gives your manicure extra shine and can significantly extend its durability. Make sure to include the nail edges to ensure complete sealing.
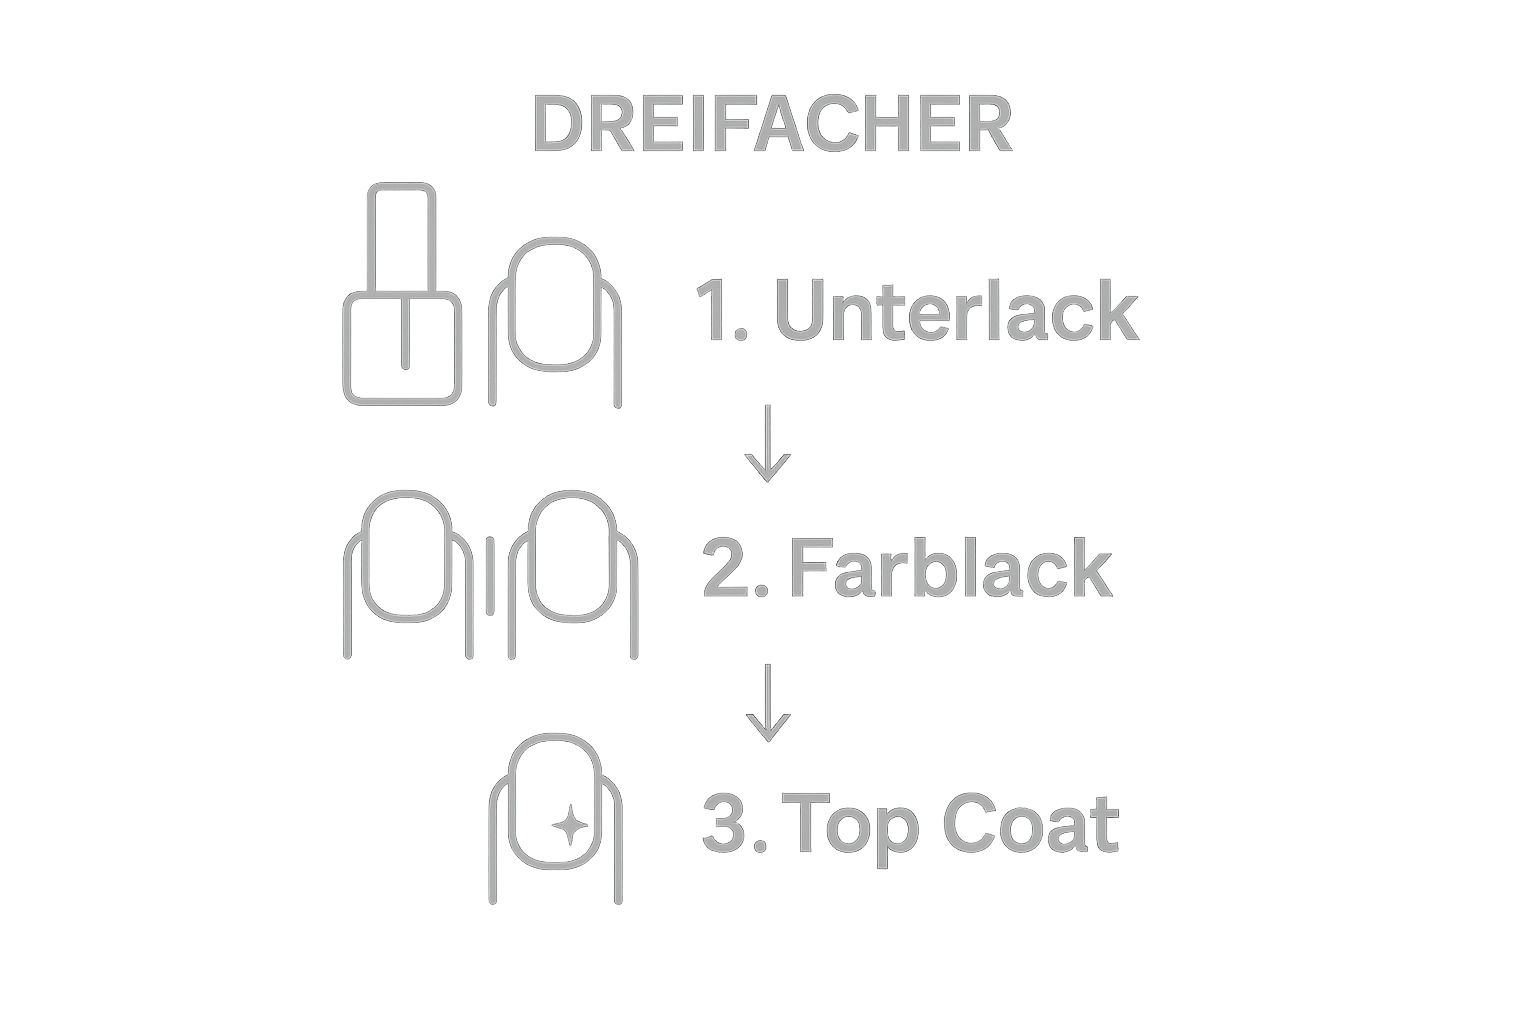
Step 4: Seal the nail polish with a Top Coat
The Top Coat is the final shield of your manicure - it determines whether your nail polish looks perfect for just a few days or a whole week. A high-quality Top Coat is more than just a shiny layer; it is the guarantee for long-lasting, professional nails.
The pro trick for radiant nails
Choose a Top Coat that not only seals but also protects. Modern Top Coats today offer more than just shine - they can combine UV protection, quick drying, and additional care. Discover all the details about the perfect Top Coat in our comprehensive guide.
Pay attention to precise technique when applying. The top coat should be applied thinly and evenly, making sure to seal the nail tips as well. These are particularly prone to chipping. Important: Let the polish dry briefly between layers to ensure optimal adhesion.
There are different types of top coats for different needs. Do you want extra shine? Or are you looking more for protection against chipping? Some top coats dry extremely fast, others offer longer care. Experiment and find out which top coat suits your polish and nails best.
A professional tip: Renew your top coat every two to three days. This not only prevents chipping but also gives your manicure a fresh shine again and again. Make sure to apply the top coat thinly and evenly - too much polish can look clumpy and slow down drying. With the right technique and a high-quality top coat, you create a professional manicure that looks perfect for days.
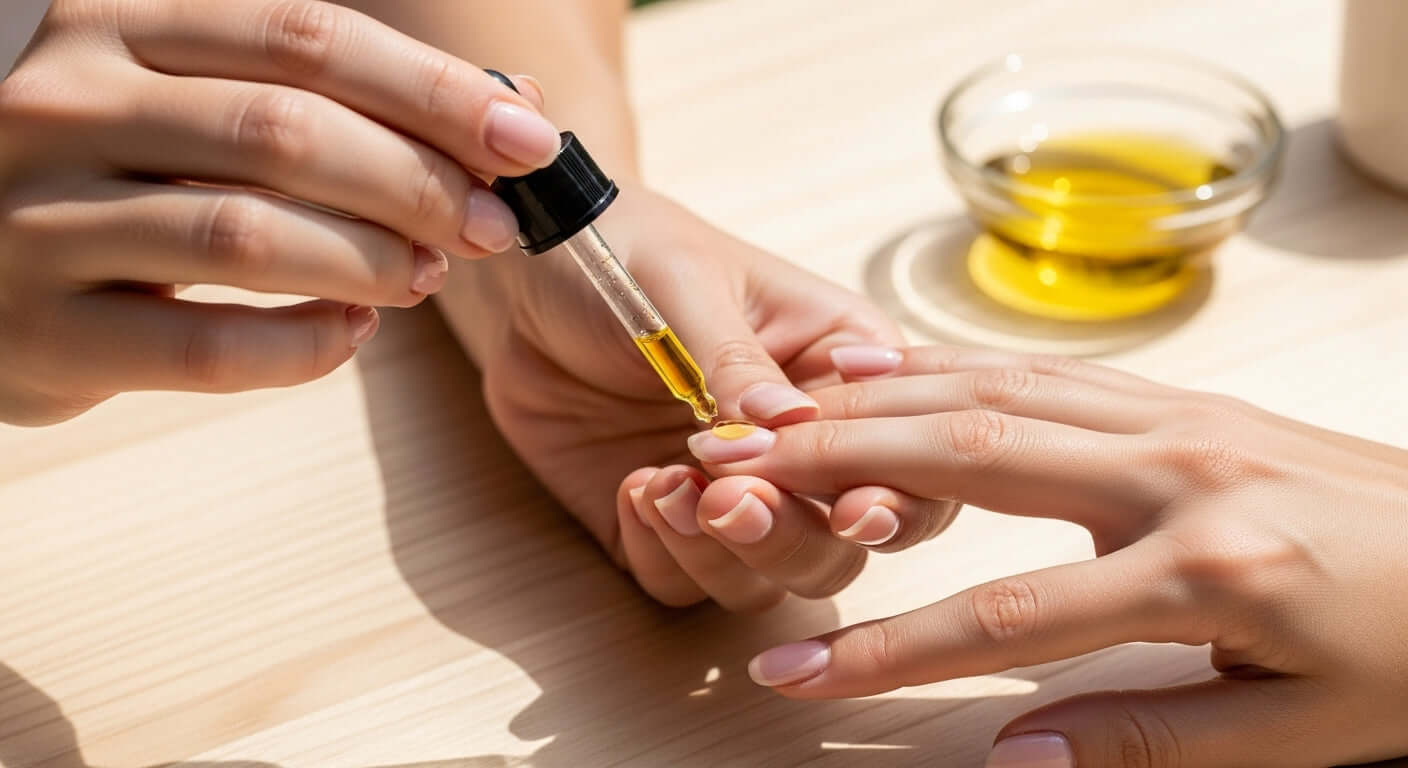
Step 5: Care for your nails regularly
Carefulness is the key to beautiful, strong nails - and it goes far beyond occasional polishing. Consistent nail care can not only extend the durability of your polish but also supports the health and resilience of your nails.
The essence of professional nail care
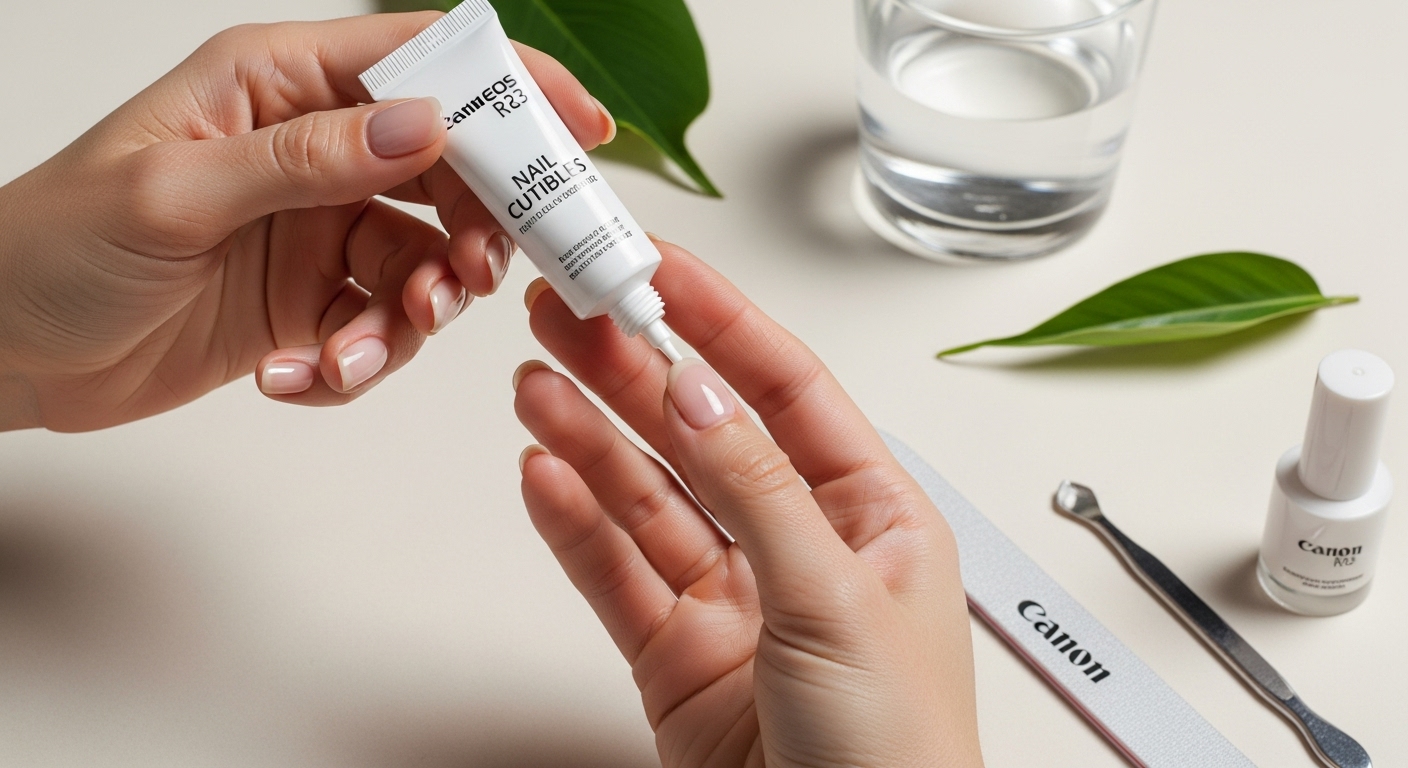
Start with a daily moisturizing care. A high-quality nail and cuticle cream is your best ally here. Gently massage the cream into the nail edges and cuticles to stimulate blood circulation and prevent dryness. Discover our professional tips for comprehensive nail care to optimally support your nails.
Gesundheit.de recommends regularly pushing back the cuticles and removing dead skin particles. For this, it's best to use a soft cuticle knife or a special cuticle pusher. Be careful not to press too hard - gentle movements are completely sufficient.
A professional nail file should also be part of your routine. Always file your nails in one direction and avoid filing back and forth, as this can weaken the nail structure. A Nailtime Manicure File is ideal for smoothing nail edges and achieving an even shape.
Don't forget nutrition: Proteins, biotin, and minerals can contribute to nail health from the inside. Drink enough water and pay attention to a balanced diet. It's also important not to misuse your nails as tools - no opening cans or scratching with your nails.
A small routine can work wonders: Take time once a week for intensive nail care. Remove old polish, moisturize your nails, care for them, and give them a short break without polish. This allows your nails to regenerate and still remains part of your beauty routine.
Finally long-lasting nail polish – with Nailtime it’s easy
You followed all the steps, but your nail polish still chips after a few days? Many know this problem: Despite careful preparation, good base coat, and a caring routine, the right polish that really lasts is often missing. The goal is perfectly groomed nails that shine and easily withstand your daily life. That’s exactly why at Nailtime we combine intensive care with brilliant colors. Our 21 Days UV Nail Polishes are specially developed for maximum durability. They last noticeably longer, are easy to apply, and provide a professional studio-like result.

Treat yourself to a little break with Nailtime. Discover the 21 Days Sets for your personal beauty experience at home or browse our current new arrivals for even more inspiration. Trust that with Nailtime you can easily create well-groomed and beautiful nails yourself. Get to know all products for your perfect look at nailtime-shop.de – start your new care routine now!
Frequently Asked Questions
How do I optimally prepare my nails before applying nail polish?
Thorough cleaning and pushing back the cuticles are crucial. Use an acetone-free nail polish remover and a natural nail cleaner to remove oils and residues so the polish adheres better.
Why is a base coat important for the durability of nail polish?
The base coat creates a smooth foundation that improves the adhesion of the color polish and prevents color pigments from penetrating the nail. A high-quality base coat can also even out ridges and stabilize the nail structure.
How do I apply nail polish correctly to ensure long-lasting wear?
Apply the polish in three strokes (center, left, right) and seal the nail tips. Use two thin layers instead of one thick one and let each layer dry for 2-3 minutes.
How often should I renew my Top Coat?
It is recommended to renew the Top Coat every two to three days to protect the manicure from chipping and to add extra shine.
Recommendation
-
Applying nail polish correctly: Salon-beautiful nails in no time – Nailtime
-
What is UV nail polish? Understanding and experiencing – Nailtime
-
Difference between gel and polish: A comprehensive understanding – Nailtime