Beautiful nails are much more than just a visual highlight on the hands. Many think of polish only in terms of color or design. But in fact, perfect manicure starts with choosing the right product – because a nourishing nail polish is an investment in the health and beauty of your nails. Those who also follow a few simple steps can enjoy not only brilliant shine but also long-lasting well-cared-for nails.
Table of Contents
Quick summary
| Main point | Explanation |
| 1. Choose nourishing nail polish | Pay attention to ingredients like keratin and biotin that strengthen and nourish your nails. |
| 2. Prepare nails and hands thoroughly | Clean and file the nails to ensure a perfect application and improve durability. |
| 3. Apply the polish evenly | Use thin layers and avoid clumps for a smooth finish. |
| 4. Let the polish dry completely | Patient drying time is crucial to ensure durability and appearance. |
| 5. Care for your nails regularly | Change the polish every 7-10 days and use nail oil to support regeneration. |
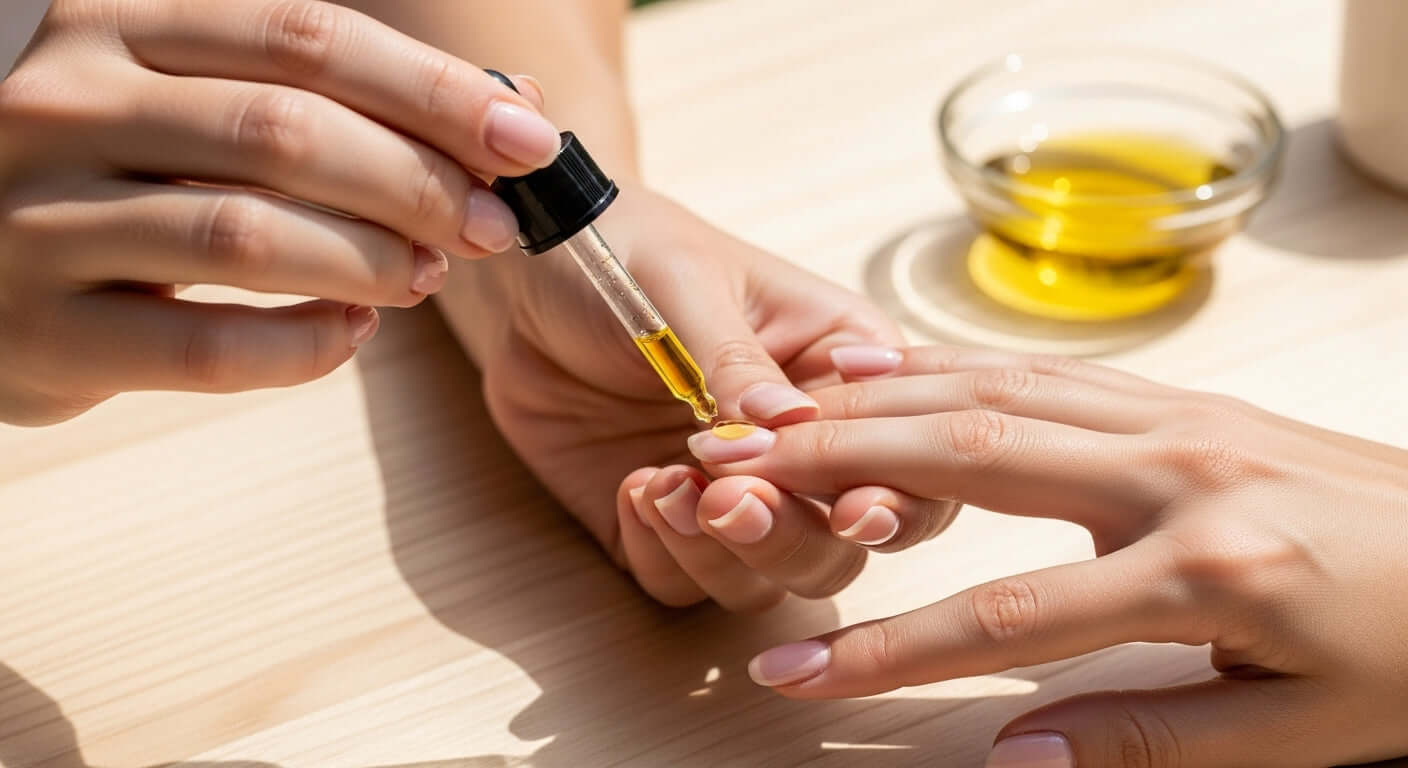
Step 1: Choose the right nourishing nail polish
The first step to perfectly cared-for nails begins with carefully selecting the right nail polish. At Nailtime, we understand that your nails deserve more than just a superficial layer of color. A nourishing nail polish is an investment in the health and beauty of your nails.
When choosing the perfect nourishing nail polish, you should first pay attention to the ingredients. Look for formulations that not only color your nails but also nourish and strengthen them. Our nail care product line offers nail polishes specially developed to care for and protect your nails.
Pay special attention to ingredients like keratin, biotin, and natural care oils that strengthen your nails from within. These components help prevent brittle and fragile nails and ensure a healthy nail structure. Nailtime products are designed not only to look brilliant but also to provide intensive care.
Also consider your individual needs. Do you have brittle nails? Then a nail polish with additional building and strengthening properties might be ideal. Do you tend to have dry cuticles? Choose a polish with nourishing oils and moisturizing components.
A secret tip: Test different colors and care formulas to find out what suits you and your nail type best. With Nailtime, you can not only beautify your nails but also keep them healthy in the long term.
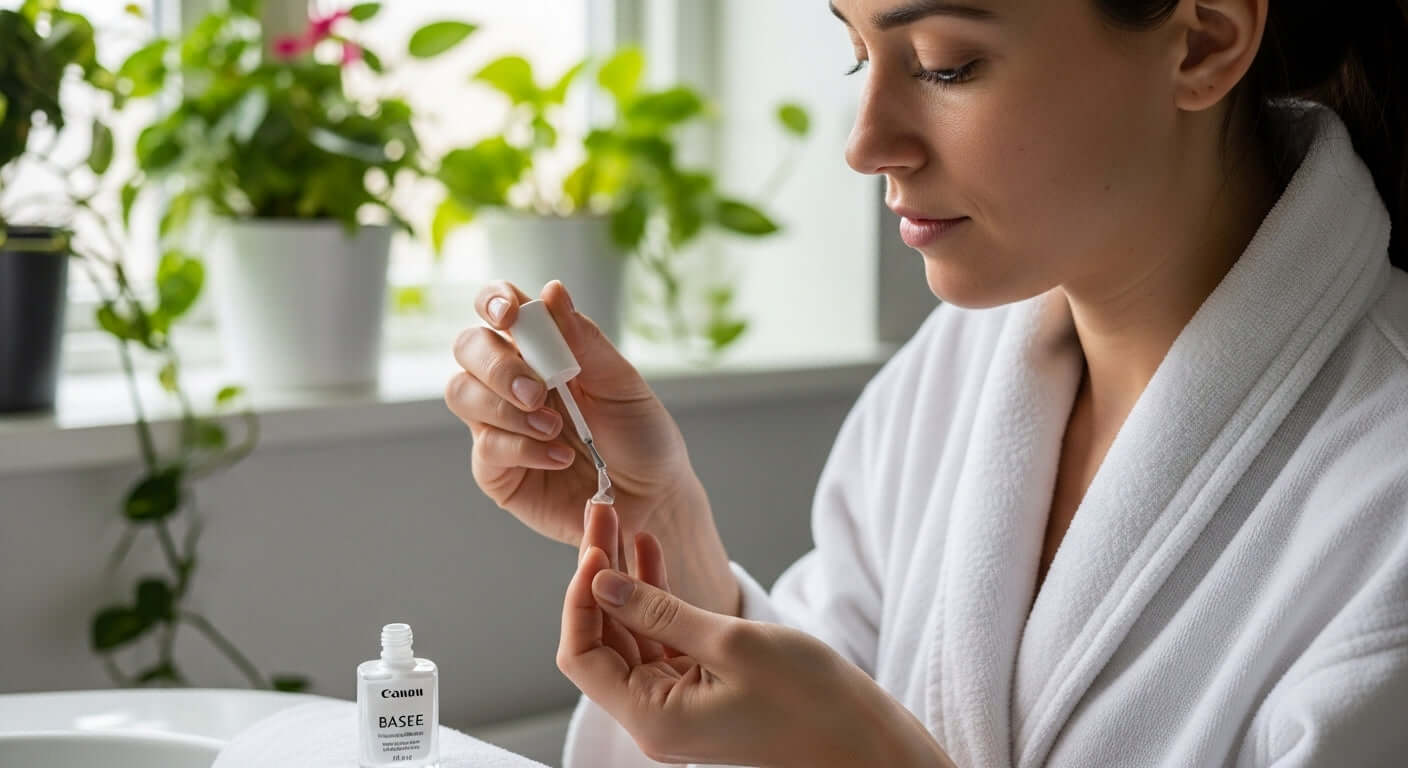
Step 2: Prepare your nails and hands
Preparing your nails is crucial for a perfect nail polish result. Careful preparation not only guarantees better durability but also a professional finish. Start by thoroughly cleaning your hands and removing all traces of old nail polish or care products.
Our natural nail cleaner is perfect for preparing your nails for polish. First, remove old nail polish residues with an acetone-free nail polish remover. This protects your nails and prevents drying out. Work carefully and precisely from the nail base to the tip to avoid discoloration and damage.
Next, gentle nail care is important. File your nails into a uniform shape - whether round, square, or oval. Make sure to file in only one direction to prevent splitting and breaking. The nail edges should be smooth and free of irregularities. A fine buffer helps you smooth the nail surface and prepare it for optimal polish adhesion.
Before applying the nail polish, it is important to push back the cuticles. Use a soft cuticle oil or a special cuticle pusher for this. Be especially gentle to avoid injuries. A clean, well-groomed nail base ensures a flawless final result and prevents the polish from applying unevenly or clumping.
To complete the preparation, I recommend thoroughly drying your hands and removing any moisture or oils with a lint-free cloth. Your nails should be completely dry and oil-free for the nail polish to adhere perfectly. Now you are ready for the next step - applying your caring nail polish.
Here is a tabular overview of recommended tools and products for each main phase of the caring nail polish application.
| Tool/Product | Purpose | Special notes |
| Acetone-free nail polish remover | Removes old polish and protects the nails | Prevents drying out, gentle on the skin |
| File and buffer | Shapes and smooths the nails | File in only one direction |
| Cuticle oil | Cares for and softens the cuticles | Gently massage in before polishing |
| Lint-free cloth | Removes moisture and oil residues | Ensures an oil-free nail surface |
| Nourishing nail polish | Colors, strengthens, and protects the nails | Pay attention to ingredients like keratin, biotin |
| Top coat or drying drops | Speeds up drying and increases durability | Thin layer for optimal results |
| Nail oil (after polishing) | Provides lasting care and flexibility for the nails | Apply to the edges after drying |
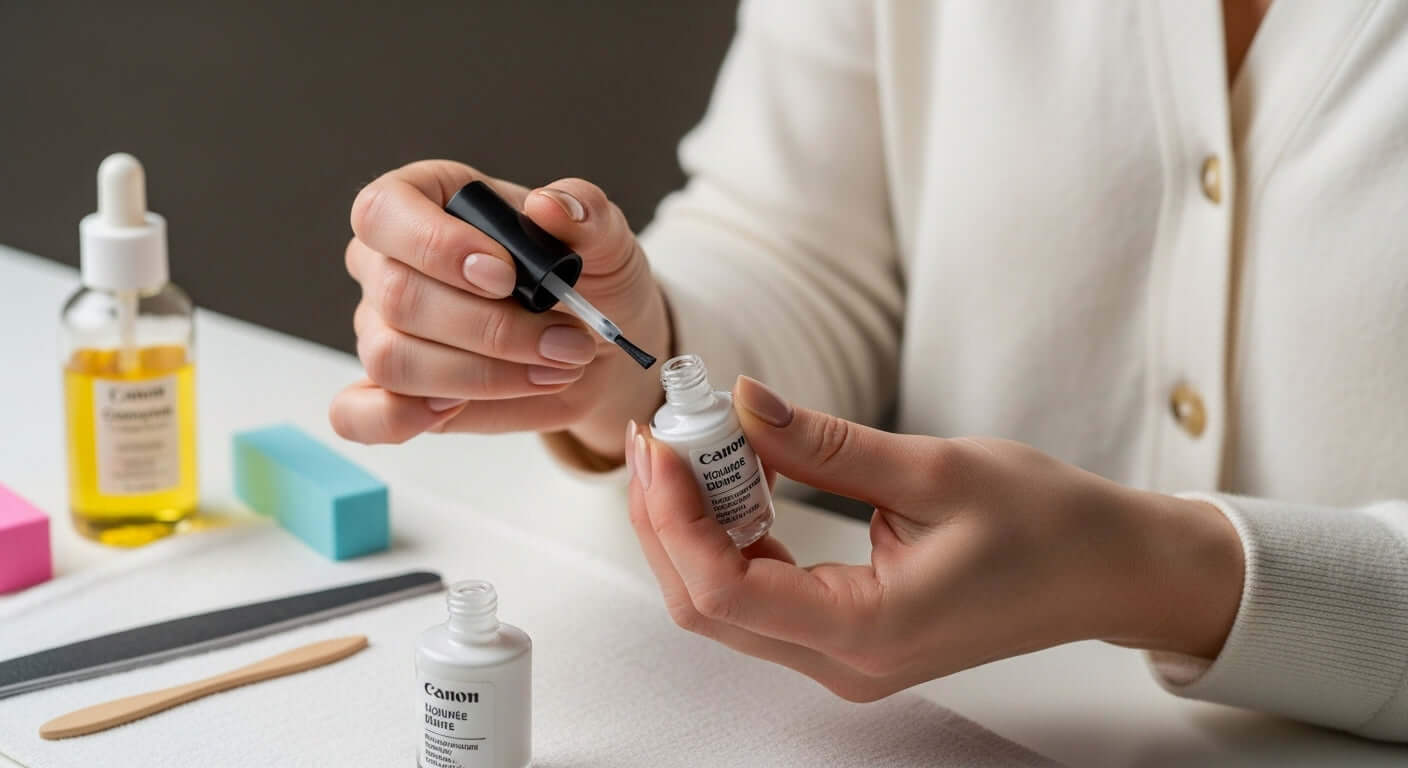
Step 3: Apply the nourishing nail polish evenly
The perfect application of nail polish is an art that requires precision and patience. After carefully preparing your nails, the goal is to apply the polish so that it not only looks brilliant but also provides optimal care. Our guide to applying nail polish will help you achieve a professional result.
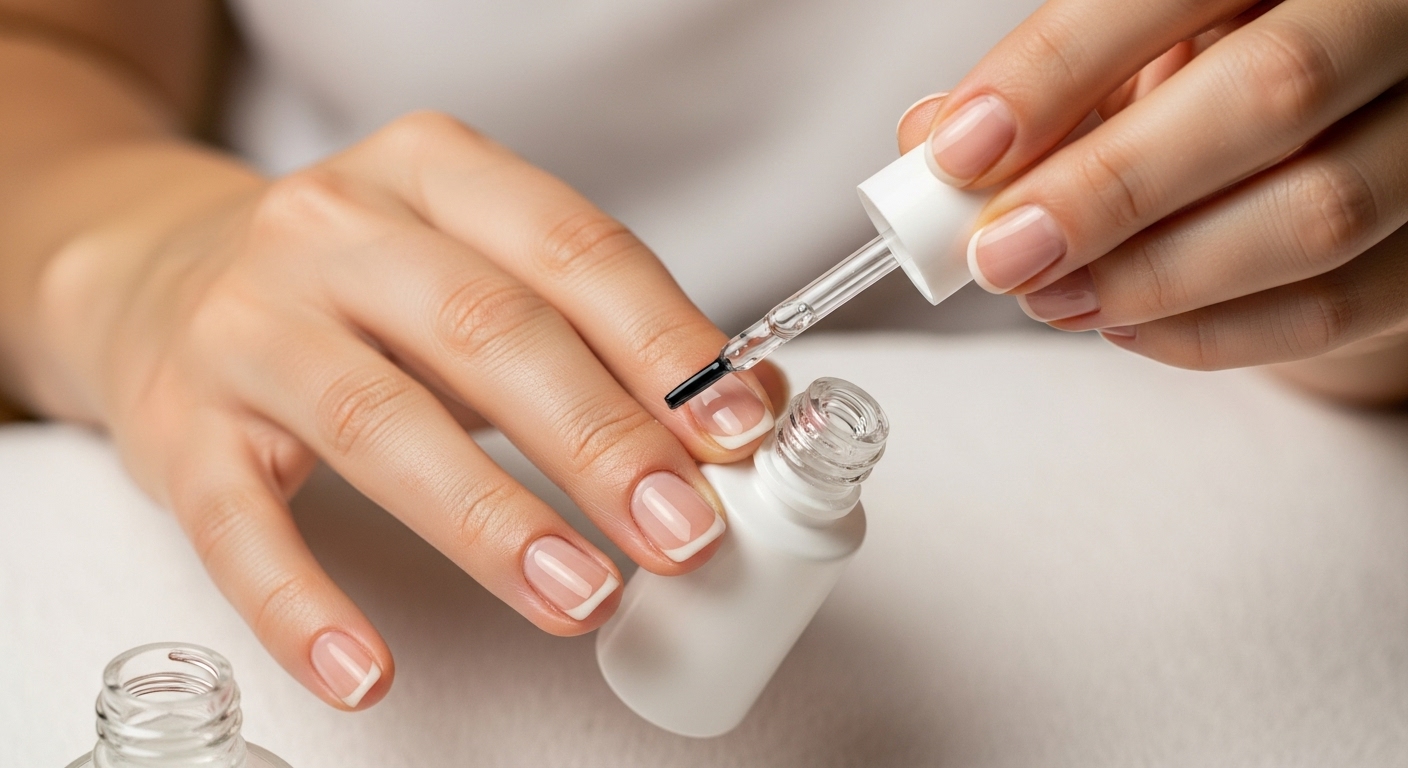
Start by wiping the brush on the bottle neck. This prevents too much polish from getting on your nail and forming clumps. Place the brush in the center at the base of your fingernail and pull it in one smooth stroke to the tip of the nail. Make sure to apply the polish thinly and evenly. A layer that is too thick dries slower and tends to smudge.
After the first stroke, paint the side edges of your nail. This ensures complete and even coverage. Important: Use as little polish as possible per layer. It is better to apply two thinner layers than one thick one. Let the polish dry briefly between layers to achieve an optimal result.
Be careful around the gaps and cuticles! Avoid applying polish directly onto the skin. If some polish does get on the skin, remove the residue immediately with a cotton swab. A clean nail polish application requires practice and patience. Take the time you need to achieve a perfect result.
In the end, your nails should be evenly painted without streaks or clumps. A sign of a perfect application is a shiny, even color tone that appears absolutely uniform from the nail base to the tip. Take your time and enjoy this moment of self-care. Your nails will thank you with a radiant, well-groomed look.
Step 4: Let the nail polish dry properly
Drying the nail polish is a critical moment that determines the quality and durability of your manicure result. Our guide to UV nail polish offers additional insights into optimal drying techniques.
The first rule when drying: Be patient! Avoid speeding up the polish by blowing or using a hairdryer. These methods actually cause uneven drying and can create irregularities. A professional polish needs time to cure. Expect at least ten to fifteen minutes for complete drying.
Place your hands in a quiet, warm spot with indirect light after painting. Cold or drafty areas slow down the drying process. Avoid activities that might touch or damage your freshly painted nails. Ideally, keep your hands relaxed and consciously unwind.
If you want faster results, there are professional methods. A fast-drying top coat can significantly reduce drying time. Make sure to apply the top coat thinly and evenly. Alternatively, special nail polish drying drops can help speed up curing without damaging the polish layer.
A perfectly dried nail polish feels even and smooth, without being sticky or soft. Test the drying carefully by lightly touching the surface. If no fingerprints appear and the polish feels firm and shiny, it is ready for further activities. Now enjoy your beautifully cared-for and radiant nails – you deserve it!
This table provides a quick overview of common issues during application, causes, and how they can be resolved.
| Problem | Possible cause | Solution |
| Polish clumps or smears | Applied layer too thick | Use thinner layers, wipe off brush |
| Polish does not dry properly | Too much product, humid environment, thick layer | Take time, use top coat, apply thinly |
| Polish chips after a few days | Nails not grease-free, no preparation | Clean and dry nails thoroughly |
| Stripes or unevenness | Polish applied too quickly, old structure | Let intermediate layers dry, smooth out |
| Polish on cuticles or skin | Imprecise application, too much product on the brush | Wipe off brush, use correction pen |
| Nails become brittle | Polishing too often without care | Use nail oil regularly, take a care day |
Step 5: Check the result and care for your nails
The final step of your nail polish application is crucial for long-lasting beauty and health of your nails. Our complete nail care checklist offers additional tips for perfect nails.
Start with a careful inspection of your polish result. Look at your nails in daylight and pay attention to evenness, shine, and complete color coverage. You can gently touch up small unevenness or color deviations with a fine brush or correction pen. Avoid repainting large areas as this can affect layering and durability.
Nail care goes beyond the polish. After drying, massage a nourishing nail oil into your cuticles and nail edges. This care prevents cracks and splitting and keeps your nails supple.
 Focus especially on the cuticles, which are often neglected. A gentle massage not only promotes blood circulation but also supports nail growth.
Pay attention to details like fingerprints or small unevenness. If present, you can gently remove these with a lint-free cloth. It is important not to rub too hard to avoid damaging the freshly applied polish. A perfect result is shown in an even, glossy finish without streaks or clumps.
In conclusion, I recommend not putting too much strain on your nails in the following hours. Avoid intensive hand washing, working with water, or mechanical stress. This protection helps the polish to fully harden and ensures longer durability. Now enjoy your beautiful, well-groomed nails – you have earned this time out for yourself!
Step 6: Repeat the application regularly for optimal results
Regular care of your nails is the key to lasting beauty and health. Our expert recommendations for nail care show you how to optimize your nail polish routine.
A thoughtful repetition frequency is crucial. Depending on nail stress and care condition, I recommend changing polish every 7 to 10 days. This allows your nails enough time to regenerate between applications. Observe closely how your nails react to the frequency of polishing. Some nail types tolerate more frequent applications better than others.
When renewing the nail polish, make sure to completely remove the previous layer. Use a gentle, acetone-free nail polish remover to avoid overburdening your nails. Between applications, pamper your nails with nail oil or a light care cream. This interim care supports the regeneration and suppleness of your nails.
A professional strategy is alternating between treatment polish and color polish. Plan an intensive care day about every two to three weeks, during which you treat your nails with a nourishing base coat. This break gives your nails the opportunity to recover and regain strength. Pay attention to individual signs such as brittleness, cracks, or discoloration that indicate a need for a break.
In conclusion: Your nail care routine is more than just a cosmetic act. It is a moment of self-care and mindfulness. Enjoy this process, experiment with colors and techniques, and find out what suits you and your lifestyle best. Your nails will thank you for this attention with a radiant, well-groomed appearance.
Discover the difference: Nail care made easy
Many know the problem: Regular nail polishes look nice briefly, but after just a few days the polish chips, nails appear dry, and your care efforts hardly pay off. The goal of healthy and permanently beautiful nails often seems unattainable. In your daily life, there is little time for elaborate beauty rituals. Yet you want to use the step-by-step approach from your article and secure sustainable results. With Nailtime, nail care becomes your little feel-good moment that combines long-lasting beauty and intensive care.
No more compromises: Brilliant color and intensive care are now available at Nailtime
Browse through our 1-STEP UV POLISH collection for especially long-lasting shine or discover targeted care products from the DUPLEX nail care series that promote a healthy nail appearance and provide noticeably stronger nails. Treat yourself to the innovations for 2025 and discover real novelties in our trend collection.

Don't wait any longer to feel completely cared for. Visit Nailtime-Shop.de and start today with the right polish and care products. Enjoy the good feeling of beautiful, healthy nails and experience your personal beauty moment at home.
Frequently Asked Questions
How do I choose the right nourishing nail polish?
Pay attention to ingredients like keratin, biotin, and natural oils that strengthen and nourish your nails. Make sure the polish not only colors but also nourishes.
How do I properly prepare my nails for polishing?
Clean your nails thoroughly, remove old polish, and file them into an even shape. Use a cuticle oil to push back the cuticles and make sure the nails are dry and free of grease.
How do I apply the nourishing nail polish evenly?
Start by wiping the brush on the bottle neck to avoid clumps. Apply the polish in thin layers and let each layer dry briefly before applying the next.
How long should I wait for my nail polish to dry completely?
Let the polish dry for at least 10 to 15 minutes to ensure an even and durable layer. Avoid blowing or using a hairdryer on the polish, as this can cause uneven drying.