Nail design is long more than just a beauty trend. Many underestimate how important preparation and the right tools are for a perfect result. It turns out: Even in the choice of materials, the right technique can extend the durability of the nail design by up to 50 percent. Those who believe that only the actual design makes the nails eye-catching often miss the crucial difference – because real pros always start with a clever base. This opens doors to creativity that goes far beyond simple nail polish.
Table of contents
- Step 1: Prepare materials and tools
- Step 2: Properly care for and shape nails
- Step 3: Apply primer for a perfect result
- Step 4: Apply nail polish in desired color
- Step 5: Add and finish creative designs
- Step 6: Check and care for the result
Step 1: Prepare materials and tools
Before you start your own nail design, careful preparation of materials and tools is crucial for a professional result. This preparation phase forms the foundation for a perfect nail design where you can fully unleash your creativity.
First, gather all necessary utensils at a clear workspace. You need a stable, well-lit surface where you can work undisturbed. Make sure your worktop is protected with a wipeable mat to avoid dirt.
For a successful nail design, you should have the following basic equipment ready:
- Nail polishes in your desired colors
- Base Coat and Top Coat
- Clean, white cotton swab sticks
- Nail polish remover without acetone
- Nail polish correction pen or thin brush
- Disposable gloves
The quality of your tools plays a crucial role. Make sure your brushes are clean and in good condition. A fine, precise brush allows detailed designs and clean edges. Clean your brushes thoroughly after each use to extend their lifespan and avoid color smudges.
When preparing your nails, it is advisable to start with good nail care. Completely remove old polish, shape your nails evenly, and care for the cuticles. A smooth, well-groomed nail surface is the best foundation for a brilliant nail design. It is best to use a buffer block to gently smooth the nail surface and eliminate unevenness.
All materials should be within reach and organized so you are not interrupted during the design process. Take enough time for preparation - good groundwork is half the battle for a perfect nail design!
For better clarity, here are the most important tools and materials for your DIY nail design with their respective purposes.
| Tool/Material | Purpose | Note |
|---|---|---|
| Nail polishes in desired colors | Nail coloring | High-quality recommended |
| Base Coat | Improves adhesion, protects nails | Apply in a thin layer |
| Top Coat | Seals, adds shine | Renew regularly |
| Clean cotton swab sticks | Cleaning, corrections | Should be lint-free |
| Acetone-free nail polish remover | Removes old polish | Gentler for nails and skin |
| Nail polish correction pen/brush | Correct mistakes | Precise work possible |
| Disposable gloves | Protection of hands during application | Recommended when handling chemicals |
| Buffer block | Smooth nail surface | For an even result |
Step 2: Properly care for and shape nails
After preparing the materials, the most important step for a professional nail design begins: careful nail care and shaping. Your nails are not only a canvas for creativity but deserve high-quality attention and treatment.
Start with a thorough cleaning of your nails. Completely remove any remaining nail polish with an acetone-free nail polish remover to protect your nail surface. Be careful not to irritate the cuticles and preferably use soft cotton pads or cosmetic tissues for gentle cleaning.
For the perfect nail shape, the right filing is crucial. Our nail care checklist shows how to professionally shape your nails. Choose a nail shape that suits your hand shape and personal style. Classic options are:

- Square shape: Modern and powerful
- Oval shape: Elegant and soft
- Round shape: Natural and easy-care
The filing technique determines the final quality. Always file in one direction, from outside to inside, to avoid splintering and cracks. A high-quality buffer block helps you smooth the nail surface and create a perfect base for your nail design.
Special attention is deserved by the cuticle. Use a cuticle remover or a soft wooden stick to gently push it back. Then massage your nails with a nourishing nail oil to keep them supple and healthy.
Pay attention to the length of your nails. They should not be cut too short to avoid injuries. An ideal length is slightly above the fingertip, so you can easily type and use your hands.
Here you can see an overview of the classic nail shapes with their respective characteristic features and advantages.
| Nail shape | Characteristics | Suitable for style |
|---|---|---|
| Square shape | Modern, powerful | Statement look, trend-conscious |
| Oval shape | Elegant, feminine, soft | Timeless, classic |
| Round shape | Natural, easy-care | Everyday, subtle understatement |
One last tip: Give your nails regular breaks between different nail designs. This promotes their natural regeneration and health. With these steps, you create the perfect base for a stunning nail design!
Step 3: Apply primer for a perfect result
The primer is the crucial difference between an average and a professional nail design. This step creates the perfect base for your nail polish color and ensures long-lasting, even coloration.
Before you start priming, make sure your nails are completely dry and clean. Any moisture or oils can impair the adhesion of the primer. Use a primer polish specially developed for your nail type. Our guide to applying nail polish offers additional tips for a perfect result.
The application technique is crucial. Hold the brush slightly angled and start in the middle of the nail. Draw a thin, even stripe from the nail base to the tip. Be careful not to overload the brush tip with polish to avoid clumping. A three-stroke principle has proven effective:
- A stroke in the middle
- One stroke on the left
- One stroke on the right
When it comes to priming: less is more. Apply a maximum of two very thin layers to ensure optimal adhesion and thorough drying. Wait about 2-3 minutes between layers so the polish can dry properly.
Be careful with the cuticles: avoid getting primer polish on the cuticles. This can lead to discoloration and uneven edges. If necessary, use a correction pen or a fine brush to immediately remove small slips.
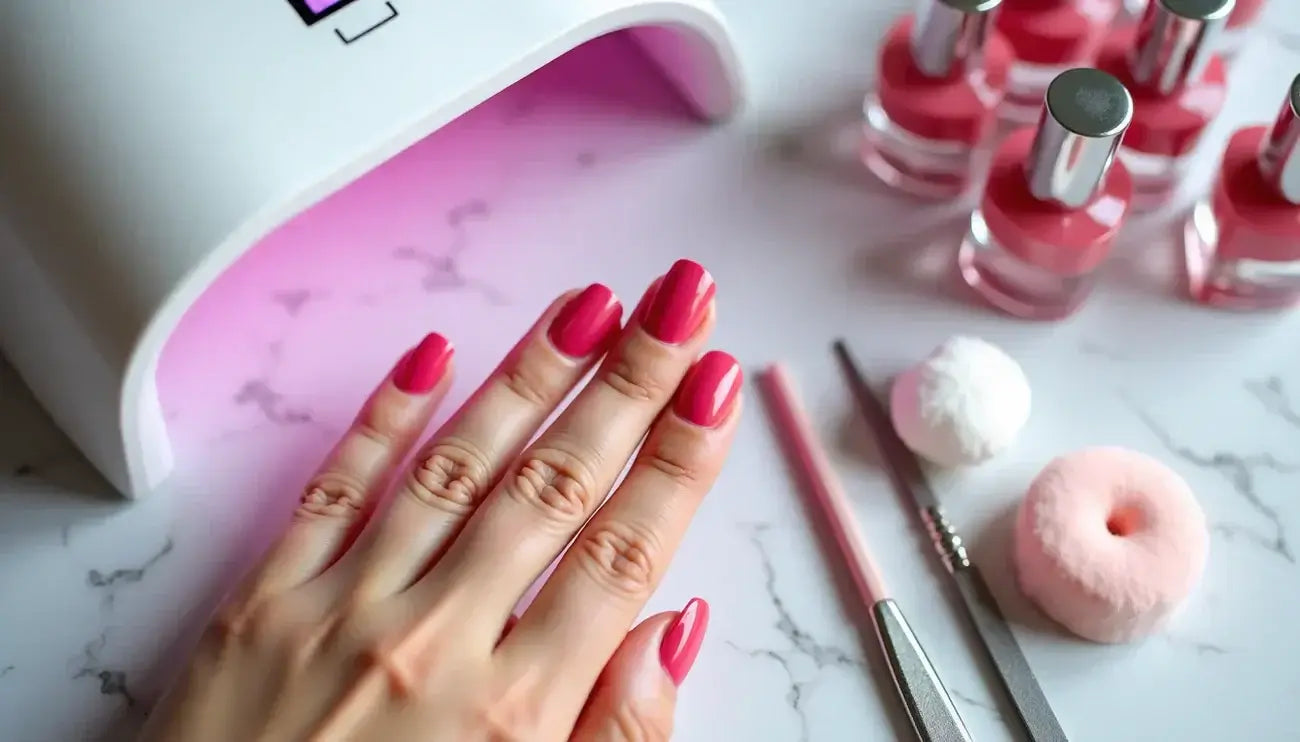
A pro tip is to lightly cure the primer with a UV lamp. This not only improves durability but also speeds up the drying process. Make sure the primer is applied completely evenly and without bubbles or unevenness.
You can easily check the success of your priming: the surface should be smooth, even, and slightly glossy. No unevenness, no visible brush strokes. Now you are ready for the next exciting step of your nail design!

Step 4: Apply nail polish in desired color
After careful priming, it's time to get to the heart of the matter: applying your desired polish in your favorite color. This step transforms your nails into a unique work of art and requires precision and patience.
Choose a nail polish that not only represents your favorite color but is also high-quality and nourishing. Our 1-STEP UV POLISH collection offers brilliant colors with integrated care. The polish should be creamy and even, neither too thick nor too thin.
Attention to technique: Make sure your brush does not pick up too much polish. Wipe off excess polish on the bottle neck so that only a thin layer remains on the brush. Start again with the three-stroke method:
- One central stroke from the nail base to the tip
- One stroke on the left
- One stroke on the right
Make sure not to smear polish on the cuticles. If something does get on them, you can clean it later with a fine brush or correction pen. A steady hand and even pressure are important.
For optimal coverage, it is recommended to apply two thin layers instead of one thick one. Let each layer dry for 2-3 minutes in between. This prevents clumping and ensures a professional finish.
With UV polishes, you can use an additional trick: Cure each layer briefly with a UV lamp. This not only speeds up the drying process but also improves the durability of your nail design.
A professional check at the end: Turn your hand in good light and check if the polish is applied evenly, without streaks or unevenness. Small mistakes can still be corrected at this stage. Your nails should now show an intense, even color – ready for the final touch!
Step 5: Add and finish creative designs
Now begins the most exciting part of your nail design: adding your personal creative touch. This step transforms your nails from a single-colored surface into an individual artwork that reflects your personality.
For beginners, simple techniques are initially suitable. Dot patterns, gentle gradients, or geometric shapes are perfect starter designs. Discover our 21DAYS techniques to find inspiration. A steady hand and patience are important.
Your tools for creative designs are diverse:
- Thin brushes for precise lines
- Dotting tools for perfect dots
- Nail polish stickers for quick patterns
- Nail stencils for complex designs
Start with a dry base coat and work carefully. It is best to use special Nail Art brushes that are extremely fine and precise. Experiment with different techniques such as dotting, stripes, or gradients.
For more elaborate designs, it is advisable to first create a stencil or sketch on the nail. Always work from the nail base to the tip and apply even pressure. For complicated patterns, you can also practice first on a practice nail or nail dummy.
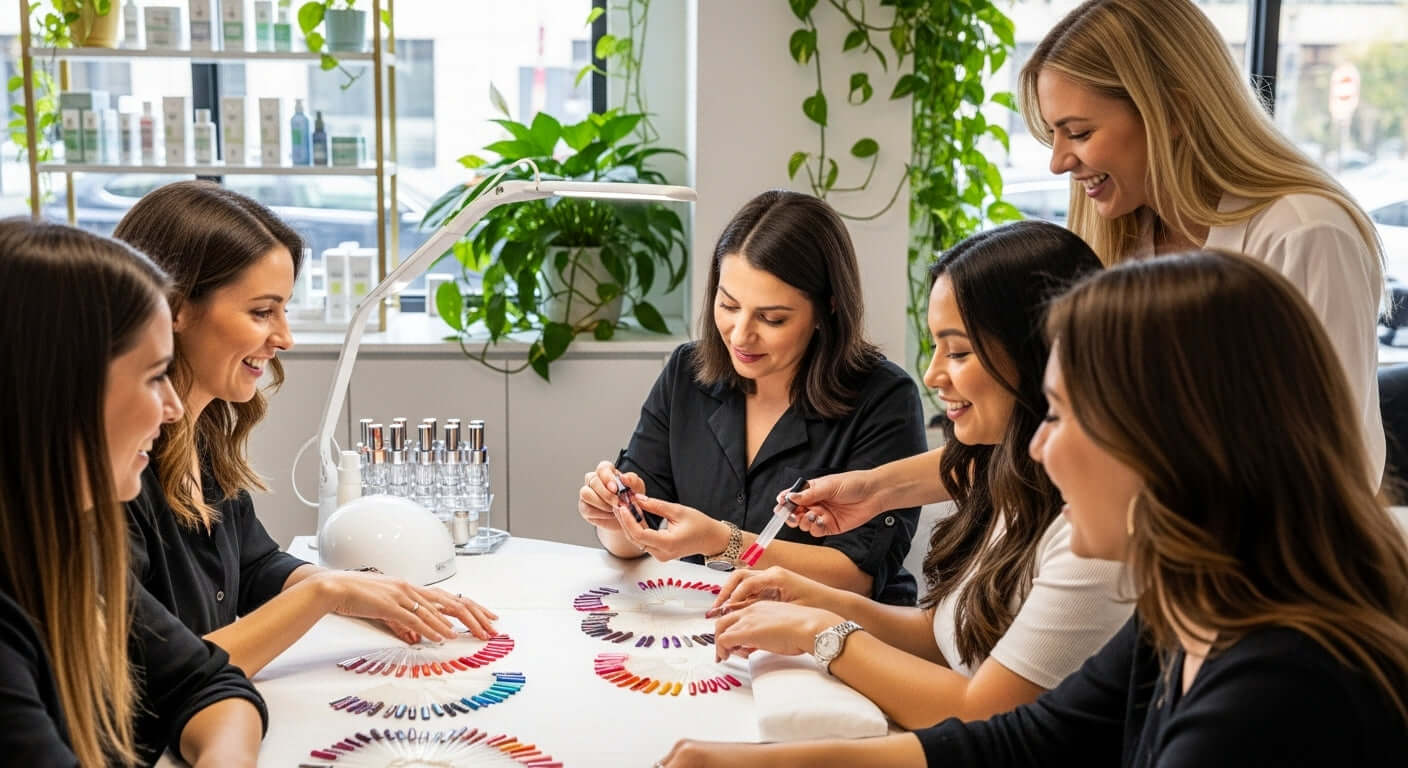
Attention when choosing colors: Harmonious color combinations are the key to a professional look. Choose colors that match each other and emphasize your personal style. A color wheel can help you find suitable shades.
After completing your design, the final touch is crucial: A high-quality top coat seals your artwork. Apply it thinly and evenly to add shine and protect your design from wear. Allow it to cure briefly with UV polishes.
One last pro tip: Photograph your design in good light. This way you can document your progress and improve over time. Your nails are now an expression of your creativity!
Step 6: Check and care for the result
After your creative nail design session, it's time to review the result and care for your nails long-term. This final step determines the durability and appearance of your nail design.
First, look at your nails in bright daylight. Carefully check each nail for unevenness, color spots, or irregular areas. Small flaws can still be corrected at this stage with a fine brush or correction pen. Pay special attention to the edges and transitions between different design elements.
A professional quality check includes the following aspects:
- Even color distribution
- Clean design edges
- No air bubbles in the polish
- Complete drying
Nail care begins immediately after the design. Massage a special nail oil into your cuticles and nails. This prevents drying out and supports suppleness. Focus especially on the cuticles and the areas between the nails.
For optimal long-term care, it is advisable to pamper your nails regularly. Apply a nourishing top coat every two to three days to protect the design and maintain its shine. This significantly extends the lifespan of your nail design.
Caution when handling: Wear gloves when working with cleaning agents or aggressive substances. Chemicals can quickly damage your nail design and cause the colors to fade. After washing and rinsing, a short treatment with nail oil is recommended.
One last pro tip: Document your nail design with a photo.
The following checklist summarizes all important points for the final inspection and care of your nail design.
| Test step | Goal/criterion | Implementation notes |
|---|---|---|
| Daylight inspection | Uniformity, visible flaws | Use good lighting, check each nail |
| Check color distribution | No stains or streaks | Touch up if irregularities occur |
| Check design edges | Clean edges | Adjust if necessary with correction pen |
| Watch out for air bubbles | Perfect, smooth surface | If bubbles appear: remove carefully |
| Check complete drying | Protection against smudging | Let all layers dry sufficiently |
| Use nail oil | Care and suppleness of the nails | Massage into the cuticle |
| Renew top coat regularly | Maintain shine and durability | Repeat every 2-3 days |
| Wear gloves during housework | Protection from chemicals | Especially important when cleaning |
No more dry nails – Bring creative ideas and care into your home
You know the problem You want to create creative nail designs yourself, but your nails are often brittle and the result doesn't last long. The right care and high-quality products are the foundation for healthy and beautiful nails. In your article, you learned how important thorough preparation, professional tools, and innovative designs are. But without the right care products, true nail happiness often turns into frustration.
Discover our Organic Nail Care for naturally healthy nails. Careful formulas give you smooth nails and radiant hands – the ideal foundation for creative designs.
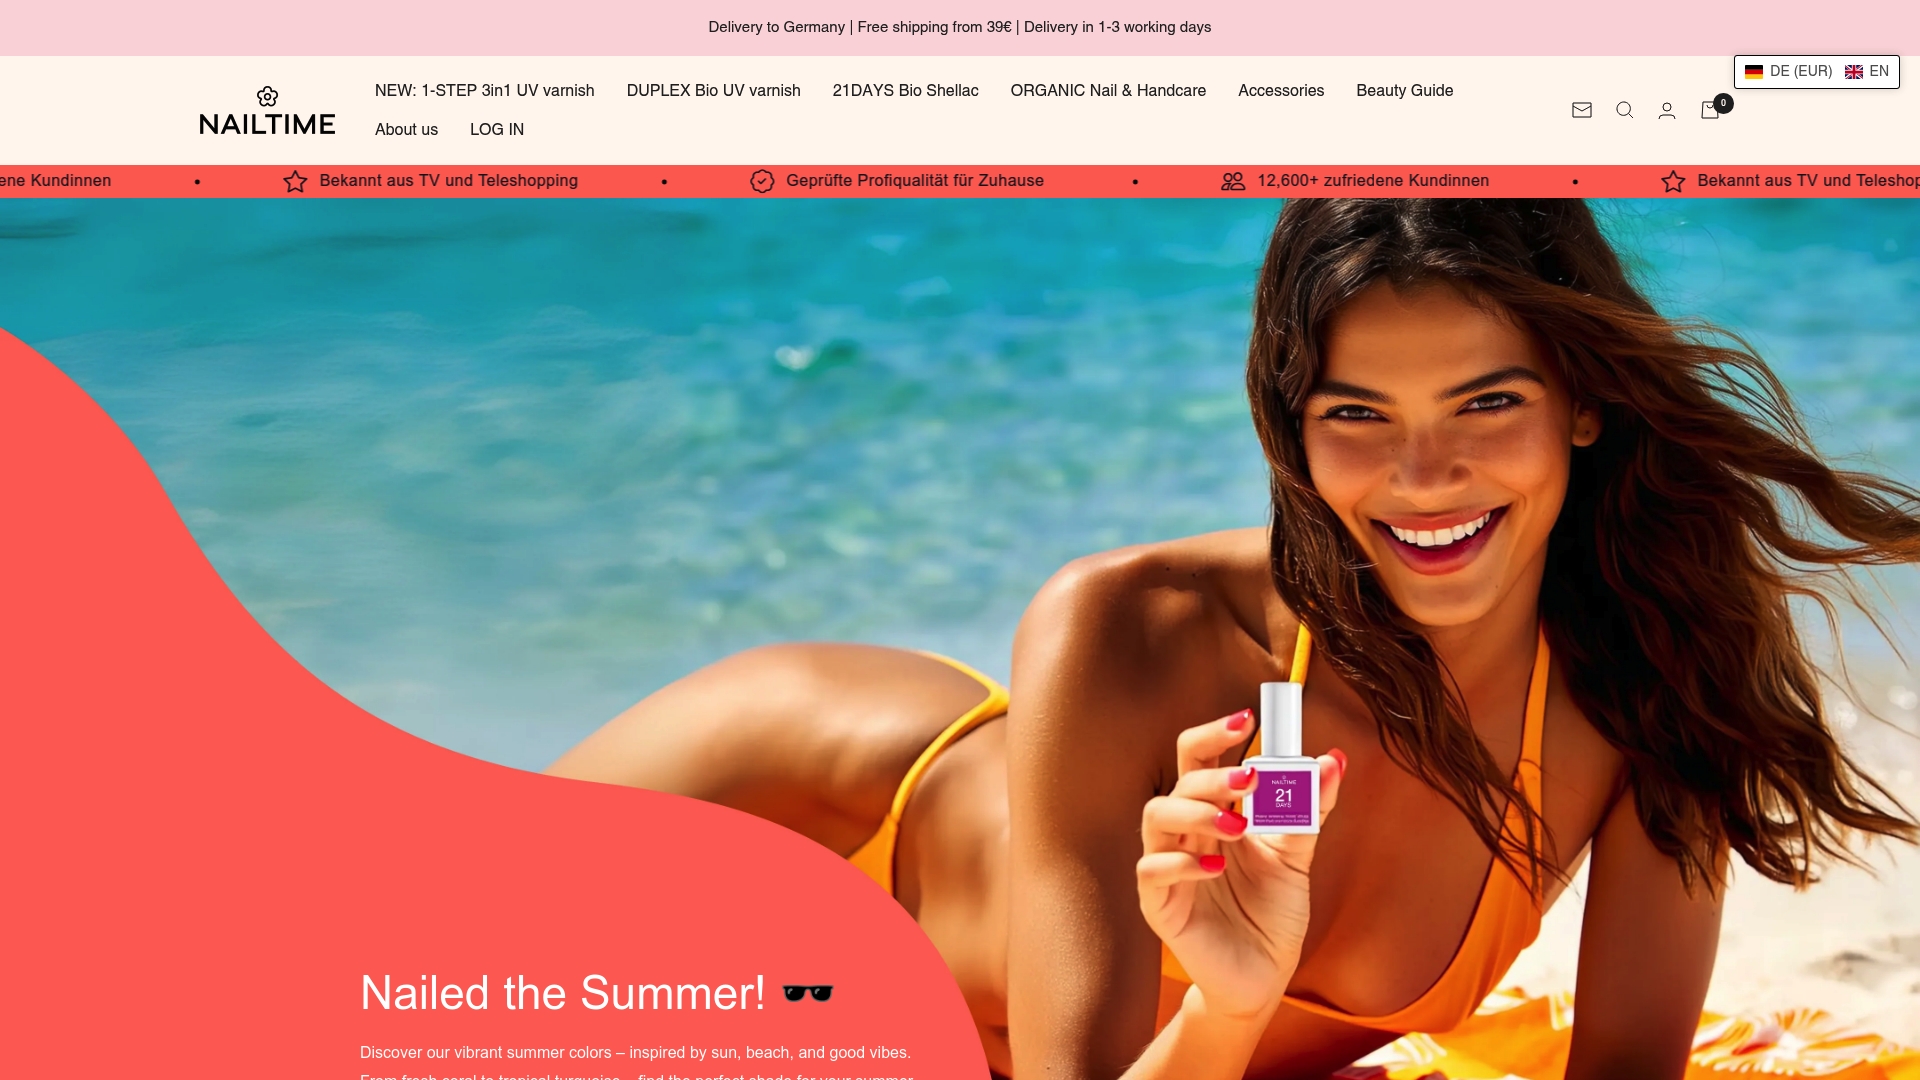
Treat yourself now to a personal beauty ritual at home. Secure your favorite colors and accessories directly in the Nailtime online shop. For long-lasting looks, you will also find our innovative 21 Days Sets for brilliant results. Experience for yourself how easy and nourishing nail design can be. Your new feel-good moment awaits – start now with Nailtime and let your nails shine creatively and healthily.
Frequently asked questions
How do I optimally prepare my nails for a nail design?
To optimally prepare your nails, you should remove old polish residues, file the nails evenly, and push back the cuticles. Use a nail polish remover without acetone and a buffer block for a smooth surface.
What basic equipment do I need for my nail design?
For your nail design, you need nail polishes in desired colors, a base coat, a top coat, clean cotton pads, nail polish remover, a correction pen or thin brush, and disposable gloves.
Which techniques can I use for creative nail designs?
Simpler techniques, such as dot patterns, color gradients, or geometric shapes, are ideal for beginners. Use dotting tools, thin brushes, and nail polish stickers to create your designs.
How can I extend the durability of my nail design?
To extend the durability of your design, you should regularly apply a nourishing nail oil and use a top coat every two to three days. Avoid contact with aggressive chemicals and wear gloves when cleaning.