UV gel nail polish like in the salon: step-by-step guide
 Does your nail polish chip after just a few days? With UV gel nail polish, you can finally forget this problem and enjoy flawless nails for up to three weeks!
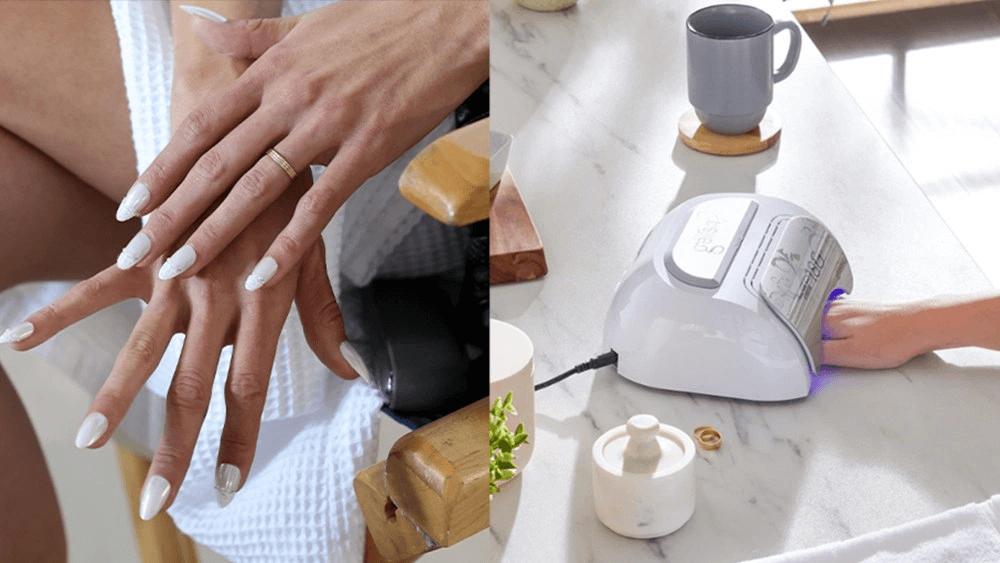
While conventional polish often suffers damage from dishwashing or searching for keys, UV nail polish offers exceptional durability and brilliant shine. Especially practical: With modern 1 Step products, like the Nailtime 1 Step or the Nailtime DUPLEX with top and base coat, application becomes child's play even for beginners. In fact, 65% of all nail salons now use this technique because of its excellent results.
But don't worry – you don't need to be a professional to implement this trend at home. In this step-by-step guide, we show you how to achieve perfect results like a pro with the right preparation, technique, and a few simple tools.
Whether you are a beginner or just want to improve your technique – after this guide, you will never have to go to the nail salon again. Are you ready to turn your nails into little works of art yourself?
What is UV gel nail polish?
UV gel nail polish combines the easy application of conventional nail polish with the impressive durability of gel. It is a special formulation that cures under UV or LED light, creating a durable, high-gloss finish. Unlike ordinary nail polish, UV gel nail polish is a hybrid product that is thinner than classic gel and can be easily applied with a brush.
Difference from conventional nail polish
The most noticeable difference between UV gel nail polish and regular nail polish lies in durability. While ordinary polish shows the first flaws after just a few days, UV gel nail polish remains flawless for two to four weeks. Moreover, conventional nail polish dries in the air, often leading to long waiting times. UV gel nail polish, on the other hand, cures completely under a special lamp in just 60 to 90 seconds.
Another significant difference concerns durability. UV gel nail polish is much more resilient and does not chip as easily as regular nail polish. This makes it especially suitable for people with an active lifestyle. Additionally, nails do not need to be roughened with UV gel nail polish, which protects the natural nail structure.
When removing, UV gel nail polish requires a special remover that often contains acetone. Therefore, good nail care with oil is recommended after removal.
Comparison with Shellac and gel nails
Shellac is actually a special type of UV gel nail polish known as a "hybrid." It differs in some ways from conventional gel nail polish and is often considered a mix between regular polish and gel. Shellac forms a thinner and more flexible layer than classic gel nail polish, which makes it ideal for a more natural look.
In contrast, gel nails are significantly harder and thicker. They offer more strength and durability - ideal for weak or brittle nails. While Shellac typically lasts two to three weeks, gel nail polish can withstand three to four weeks without visible flaws.
The main difference in removal: Shellac can be removed relatively easily with acetone wraps without requiring intensive filing. Gel nails, on the other hand, usually need a more elaborate removal technique that can put more strain on the top nail layer.
How does curing under UV light work?
The curing of UV gel nail polish occurs through a photochemical process. When applied, the polish is in a liquid form. Once placed under UV or LED light, the photoinitiators contained in the polish react with the UV light and trigger a chemical reaction that hardens the polish.
There are different types of light curing devices:
-
Classic UV tunnel devices: With a mirrored interior and four tubes that distribute the light evenly. The curing takes about two minutes.
-
LED devices: Work with Light Emitting Diodes (LED) and cure faster – often in just 60 seconds. However, not all UV gels work with LED devices because the wavelength is different.
-
CCFL devices: Use Cold Cathode Fluorescent Lamps that cure the gel with cold light.
Insufficient curing can lead to problems: the nail polish yellows faster, ages quicker, or peels off more easily. Therefore, the correct curing time is crucial for a perfect result.
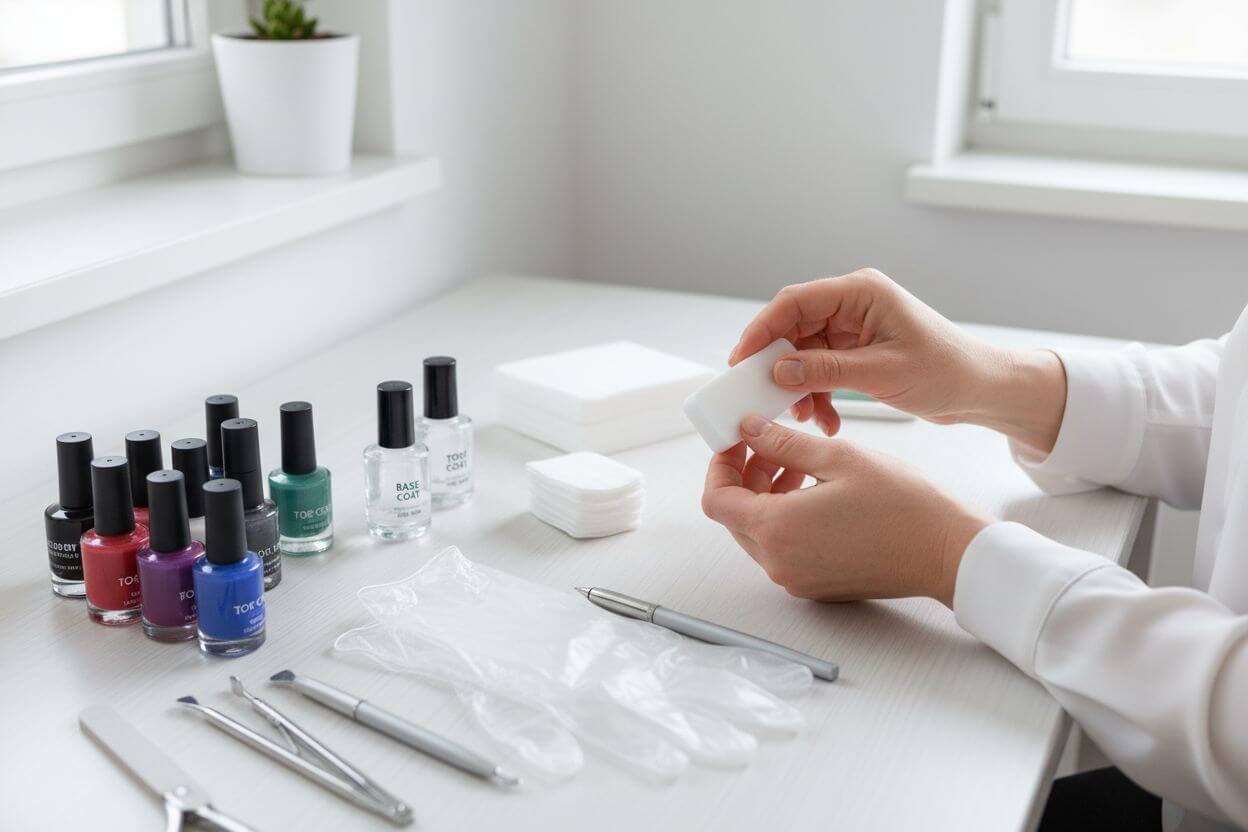
Preparation and required utensils
For a perfect UV gel manicure at home, you need the right tools and materials. The right equipment makes the difference between a professionally looking manicure and a disappointing result. Get to know the most important utensils you need for your own UV gel nail studio.
Nail file, buffer, and rosewood sticks
Before you start applying the UV gel nail polish, your nails must be optimally prepared. A high-quality nail file helps you shape the nails as desired. The buffer – a special sanding block – slightly roughens the nail plate so that the gel nail polish adheres better.
Rosewood sticks are indispensable helpers in manicure. These small, round wooden sticks with flat tapered ends are excellent for pushing back the cuticles. After soaking the cuticles, they are gently pushed back with the wooden stick. You can also use them to clean the nail edges and even remove UV polish from the nail. With a length of about 17.7 cm, they are perfect for precise work. It's no coincidence that you find these sticks in almost every professional nail studio.
Base Coat, color polish, Top Coat
The Base Coat forms the foundation for your gel nails. It protects your natural nails and improves the durability of the nail polish. Additionally, it smooths the nail surface, evens out irregularities, and prevents the colored polish from staining the nails.
The color polish is the actual color layer that you apply after the Base Coat. Here, you can choose from countless colors and effects. For beginners, thinner formulations are recommended as they are easier to apply.
The top coat is the final layer and completes your manicure. It seals the color polish, gives it a beautiful shine, and protects against chipping and wear. There are different types: classic top coats, versions with special shine, matte versions, and even ones with a "wet nails" effect. Applying the top coat not only leads to a better overall result but also extends the durability of your UV gel nail polish.
UV or LED lamp: Which is better?
Both UV and LED lamps cure the gel polish but differ in technological aspects. UV lamps work with a broad wavelength spectrum (about 365-405 nm) and require about 2-3 minutes to cure a layer of gel polish. They are more versatile and compatible with many classic UV gels, but their tubes need to be replaced regularly.
LED lamps, on the other hand, work with more targeted wavelengths (usually 395 or 405 nm) and cure the polish much faster – often in just 30-60 seconds. An LED lamp can even cure nail art designs in only 15 seconds. Additionally, LED lamps have lower power consumption and a longer lifespan. While the light source in a UV lamp lasts about 4,000 hours and must be replaced every six months, LED bulbs last between 5,000 and 10,000 hours, with premium models even up to 50,000 hours.
Most nail salons now use LED lamps because they shorten the treatment time. However, not all UV gels work with LED devices. The ideal solution for maximum flexibility is a high-quality dual lamp that combines both UV and LED technology.
Cleaner and nail oil for aftercare
After curing the gel, a sticky layer forms on your nails – the so-called dispersion or tacky layer. The cleaner removes this layer and degreases the nails. A good cleaner also acts disinfectingly and removes filing dust as well as residue from modeling. The High Gloss Cleaner additionally gives your nails an intense high shine. The application is simple: apply some cleaner to a lint-free wipe and gently wipe over the nails.
Nail oil is essential after the manicure as it cares for and protects the stressed cuticles. Especially after removing UV gel nail polish, your nails need extra care because the process can strain and dry them out. Regular oiling keeps your nails supple and prevents brittleness.
Applying UV gel nail polish – step by step
The precise application of your UV gel nail polish determines the final result and the durability of your manicure. With the right technique and some practice, you can achieve professional results at home. Follow this guide for flawless UV gel nails that last up to three weeks.
1. Clean and prepare nails
Start with clean, dry nails. First, gently push back the cuticles with a rosewood stick. Remove excess cuticles if necessary with cuticle scissors. File your nails into the desired shape and then mattify the nail plate with a buffer. This creates a rough surface for better adhesion. Clean the nails thoroughly with a cleaner to remove dust and grease residues. Make sure the nails are completely dry before proceeding to the next step.
Important: Do not perform the preparation in direct sunlight, as this can affect the subsequent curing process.
2. Apply and cure the Base Coat
Apply the Base Coat thinly and evenly. The ideal technique consists of three brush strokes (center, left, right) and keeps about one millimeter distance from the cuticle. Don't forget to seal the nail edge as well (wrapping the free nail edge) to prevent chipping. Then cure the Base Coat under the lamp: 120 seconds with UV devices or 60 seconds with LED devices. After curing, a sticky layer remains – the so-called inhibition layer. Do not remove this, as it is important for the adhesion of the next layer.
3. Apply and cure color layers
Next comes the colored UV gel nail polish. Apply the first layer thinly as well – it serves as a primer. Here, too, use the three-stroke technique and wrap the free edge of the nail. Cure this layer (120 seconds under UV lamp or 60 seconds under LED lamp). For an opaque color effect, a second layer is usually required. Apply this thinly as well and cure again. If the polish accidentally gets on the skin, remove it immediately with a wooden stick before it cures.
4. Apply and seal the Top Coat
Finally, the Top Coat follows as a sealant. It protects the color layers and gives your nails a brilliant shine. Apply it evenly and be sure to include the nail tips. The Top Coat also needs to be cured: 120 seconds under UV light or 60 seconds under LED light. With some products, you can even use a "No-Wipe" Top Coat that leaves no sticky inhibition layer.
5. Remove inhibition layer
Then remove the sticky inhibition layer (also called dispersion or inhibition layer) with a special cleaner. This moist, sticky layer forms during the curing process and only needs to be removed after the last layer (the Top Coat). Soak a lint-free pad with cleaner and gently wipe over the nails until they are dry and shiny. This gives your UV gel manicure its unique shine. Finally, you can apply nail oil to the cuticles to nourish and moisturize them.
Avoiding common mistakes
Even with high-quality products, mistakes can happen during UV gel application that affect the result. Learn which common problems can occur and how to avoid them.
Applying layers that are too thick
A classic beginner mistake is applying layers that are too thick. This leads to several problems: the polish does not cure evenly, forms bubbles, and lifts off faster. Wrinkling can also occur when thick layers cure under the lamp. Scientific tests show that insufficiently cured UV gel nail polish yellows faster, ages, and falls off more easily.
Therefore, it applies: better to apply several thin layers than one thick one. Two to three thin layers offer better durability than one thick layer – even with longer curing. Apply the polish precisely and make sure it does not run sideways onto the nail bed, as it is difficult to remove after curing.
Not pushing back the cuticles
Overlooked cuticles are another common mistake. If the cuticles are not pushed back, the UV gel nail polish cannot properly adhere to the nail and therefore lifts off earlier (lifting effect). Additionally, the result looks untidy.
First, take the time to gently push back the cuticles with a rosewood stick. This is especially important for a clean nail plate and significantly extends the durability of the manicure. A properly prepared nail plate is actually the foundation of every successful manicure.
Incorrect curing of intermediate layers
Each layer must be fully cured before applying the next. If curing is incomplete, uncured gel remains under the hard surface – like a slippery layer beneath the manicure. This can cause bubbling, lifting, and premature chipping.
Make sure each layer is completely placed under the lamp. Thumbs are often positioned incorrectly, causing certain areas not to cure properly. Keep your fingers flat and centered under the lamp so the light reaches every part of the nail.
Using the UV lamp for too short or too long
The correct curing time is crucial for a long-lasting result. If cured too briefly, the polish remains soft and sensitive, leading to chipping. However, longer curing does not provide benefits for layers that are too thick.
The curing time depends on the power of the lamp. For optimal results, each layer should cure for about 60-120 seconds under the UV lamp. For LED lamps, 60 seconds is often sufficient. However, note that not all UV gels are compatible with LED devices. Follow the specified time settings of your lamp to ensure even curing.
Properly removing UV gel nail polish
Improper removal of UV gel nail polish can weaken and make the nail plate brittle. Therefore, proper procedure is crucial for long-term nail health.
Roughening polish with buffer
First, the surface of the UV polish should be gently roughened with a buffer or a fine nail file until the shine disappears. Caution is required – only roughen the polish, do not damage the natural nail. This pretreatment allows the remover to penetrate the polish better.
Using pads with remover and aluminum foil
Next, soak lint-free cotton pads or cellulose pads in acetone-based nail polish remover. Place these on your nails and secure them with aluminum foil. The remover needs about 8-10 minutes to work. A tip for even easier removal: briefly hold your wrapped nails under the UV lamp.
Alternative: Remover clips
Alternatively, you can use special remover clips. These plastic clips securely hold the remover-soaked pads in place. Simply place the clip on your finger after applying the soaked pad to the nail. These reusable clips offer better hold than aluminum foil.
Care afterwards: Nail oil and moisture
After removal, your nails need intensive care. The acetone-based remover dries out nails and cuticles significantly. Nourish them daily with rich creams and nail oil. Especially jojoba oil or almond oil can penetrate deeply into the nail and provide moisture. Also, take a short break from polishing if your nails appear uneven.
In conclusion
With UV gel nail polish, you can actually achieve professional results like in the salon – all conveniently from home. The exceptional durability of up to three weeks makes this nail polish an excellent alternative to conventional polish, which often chips after just a few days.
Especially important for a perfect result are careful preparation, applying in layers, and complete curing under the UV or LED lamp. Thin layers and the right technique ensure your manicure lasts long and looks flawless.
Undoubtedly, proper care remains an essential factor for healthy nails. Nail oil and moisturizing products should therefore be applied after removing the polish to prevent drying out.
If you are a beginner, start by practicing with simple colors before venturing into more complex Nail-Art designs. With a bit of patience and practice, you'll quickly improve and be able to let your creativity run free.
All in all, UV gel nail polish offers the perfect combination of durability, shine, and versatility. With the right tools and technique, you not only save money on expensive salon visits but also enjoy the freedom to style your nails anytime and anywhere. Try it yourself – your hands will thank you!