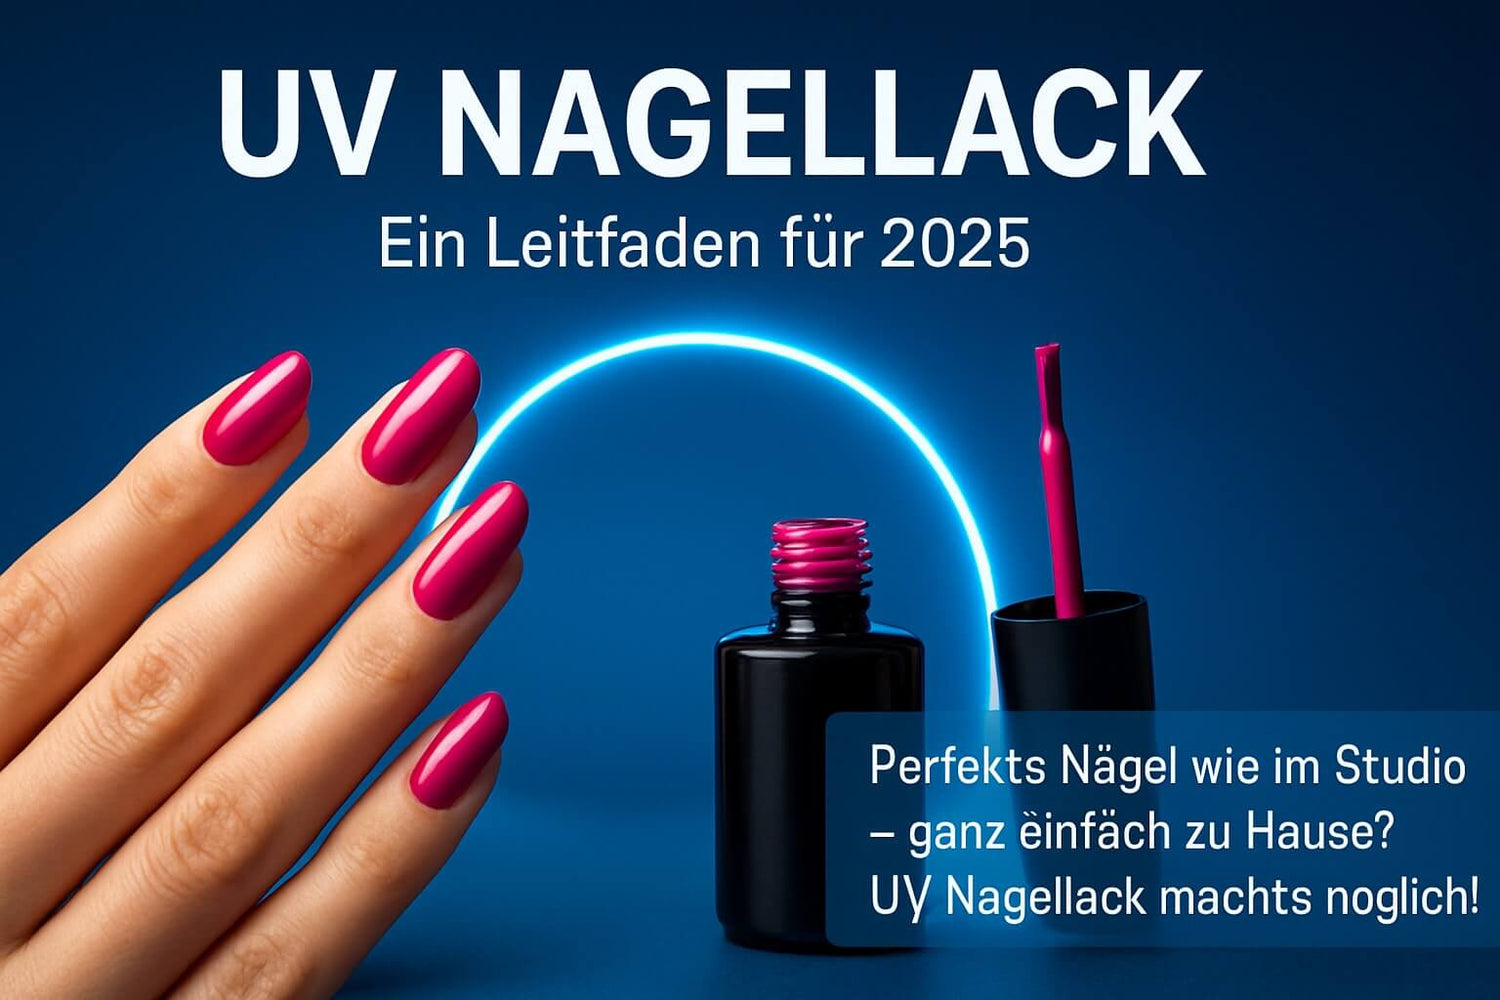
Do you dream of perfect nails like from the salon, but without an appointment and waiting time? With UV nail polish, you can now easily achieve a professional manicure at home.
More and more beauty fans are relying on this innovative technique. The reason: long-lasting shine and no more chipped color.
With the right tips and tricks, your UV manicure stays flawless for up to three weeks. In our guide, you will learn everything important – from selection to application to removal.
Discover the latest trends, care tips, and professional advice to keep your nails beautiful for the long term.
What is UV nail polish? Basics & advantages
UV nail polish has become a trendy product for professional manicures at home. More and more people rely on this technique to achieve long-lasting and shiny nails. But what distinguishes How UV nail polish actually differs from conventional nail polish and what you should pay attention to?
Definition and how it works
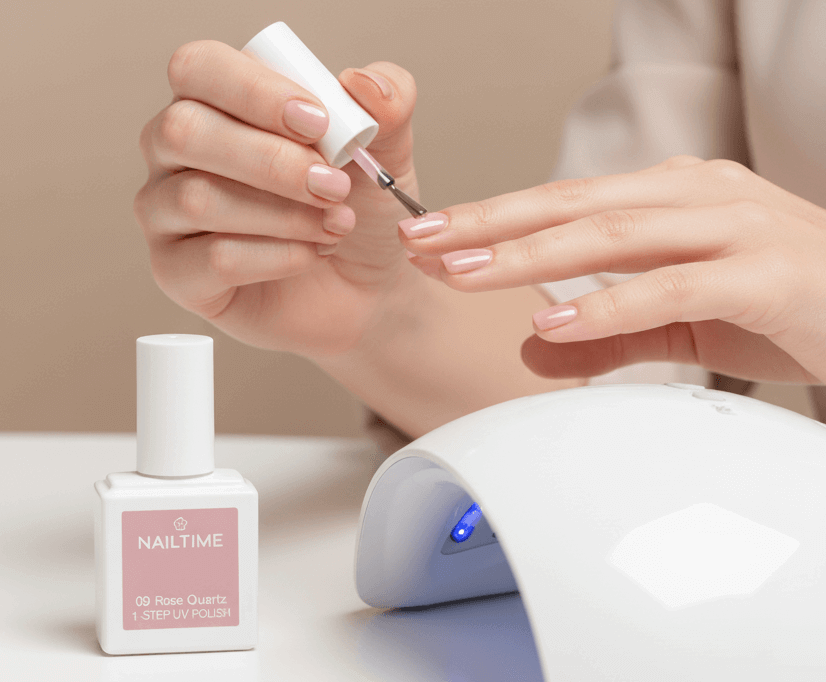
UV nail polish is a special polish that hardens under a UV or LED lamp. Unlike classic nail polish, it dries UV nail polish does not dry in the air but requires UV light to harden through a chemical process. The system typically consists of three layers: base coat, color polish, and top coat. Each layer is applied separately and cured under the UV lamp. The result: high-gloss, chip-free nails that last up to three weeks. The use of UV lamps is safe if the products comply with current EU cosmetic regulations. Pay attention to appropriate labeling and safety aspects when choosing.
Advantages of UV nail polish
With With UV nail polish, you achieve a long-lasting, intense shine that is clearly superior to classic polish. The colors remain vibrant and the surface is especially resistant to scratches and impacts. Another advantage is the enormous variety of colors and effects, from matte to glitter to thermo polishes. Since repainting is less often necessary, you save time in everyday life. UV nail polish is suitable for both natural nails and nail extensions and enables a well-groomed appearance for many days.
| Advantage | UV nail polish | Classic polish |
|---|---|---|
| Durability | Up to 3 weeks | 2-5 days |
| Shine | High gloss | Medium |
| Color selection | Very high | Large |
| Touch-ups | Rarely necessary | Often necessary |
Risks and limitations
For the application of For UV nail polish, you need special UV or LED lamps, which requires some basic equipment. Removing the polish is more complex than with classic nail polish and should be done gently to avoid nail damage. Since some ingredients like HEMA or TPO can cause allergies, it is advisable to check the product labeling. An important safety aspect is the new TPO ban in UV nail products, which applies in the EU from September 2025. Those with sensitive nails should opt for products with as few potentially irritating ingredients as possible and perform all steps carefully.
Statistics & Market Trends 2025
The demand for UV nail polish continues to grow in Germany and the EU. Especially popular are trendy colors like red, nude, and glitter effects. According to current sales figures, UV manicure sets dominate the nail product market. More and more manufacturers are launching innovative collections and special polishes. The trend shows: UV nail polish remains a sought-after beauty trend this year. Those who value well-groomed, long-lasting nails can hardly ignore this modern technique.
The right preparation: Optimally prepare nails for UV nail polish
The perfect manicure starts with the right preparation. Only when your nails are optimally prepared does the UV nail polish lasts long and remains flawless. Careful preparation not only protects nail health but also ensures a shiny, professional result.
Step-by-step preparation
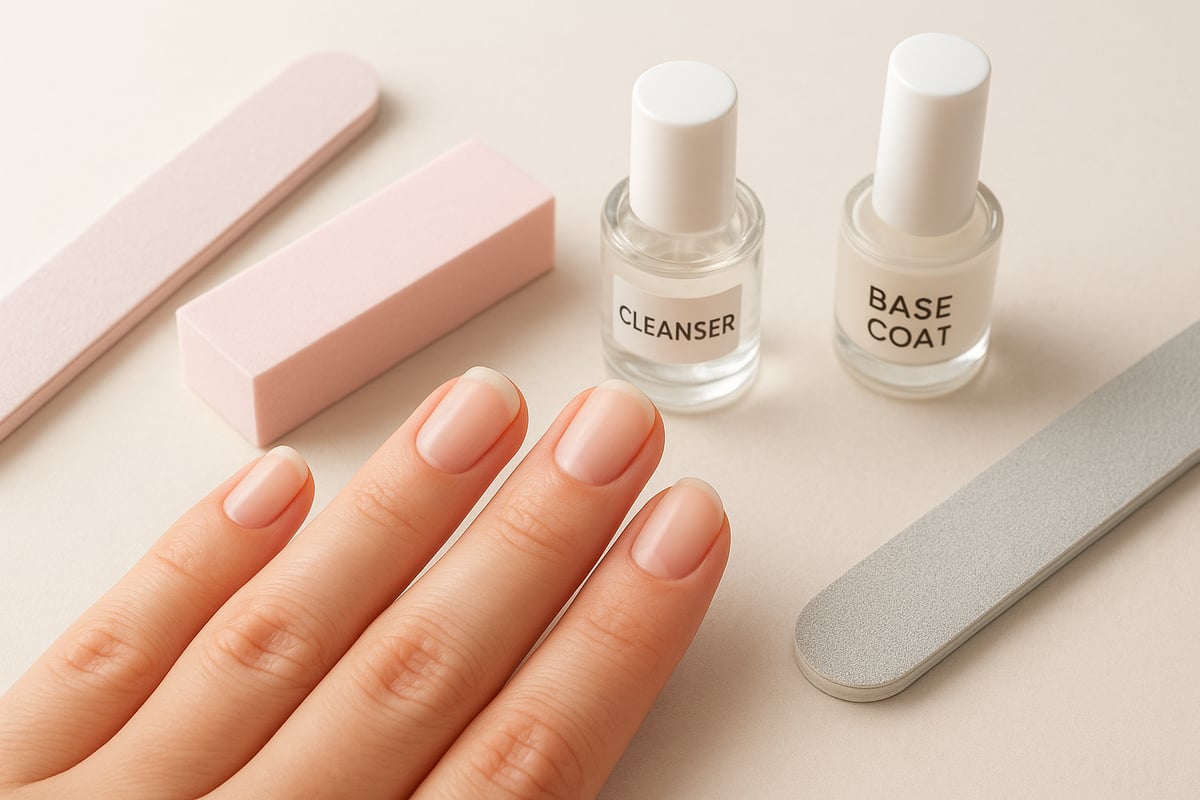
Start by thoroughly cleaning and degreasing your nails. A cleaner removes residue and ensures optimal adhesion of the UV nail polish. Gently push back the cuticles with a suitable tool and remove any excess skin.
Shape your nails with a fine file into the desired form, such as almond, oval, or square. Then gently polish the nail surface so the polish adheres better and can be applied evenly.
These careful steps create the perfect base for every UV nail polish application.
Important tools and products
For preparation, you need some essential utensils:
- File for shaping
- Buffer to roughen the surface
- Cuticle pusher for care
- Cleaner for degreasing
- Brush for precise work
Choosing the right base coat is especially important. Different nails require different bases – such as strengthening build-up products for brittle nails. A high-quality base coat for UV manicure ensures optimal adhesion and protects the nail plate during application of UV nail polish.
Always ensure clean, disinfected tools to prevent infections.
Sources of errors and how to avoid them
Many application problems already arise during preparation. Overly oily nails prevent adhesion, so thorough cleaning is essential. Always file in one direction to avoid splitting.
Don't forget to completely remove the cuticles – otherwise, they can prevent the polish from adhering. Typical mistakes often mentioned in customer reviews include uneven filing or overlooking residue.
With attention and care, these mistakes can be easily avoided, and your results will last significantly longer.
Tips for sensitive nails
If you have sensitive nails, a particularly gentle preparation is recommended. Avoid aggressive files and opt for gentle buffers. Use special products free from potentially irritating ingredients, such as HEMA- or TPO-free Base Coats – fortunately, this will be mandatory for all products within the EU starting September 2025.
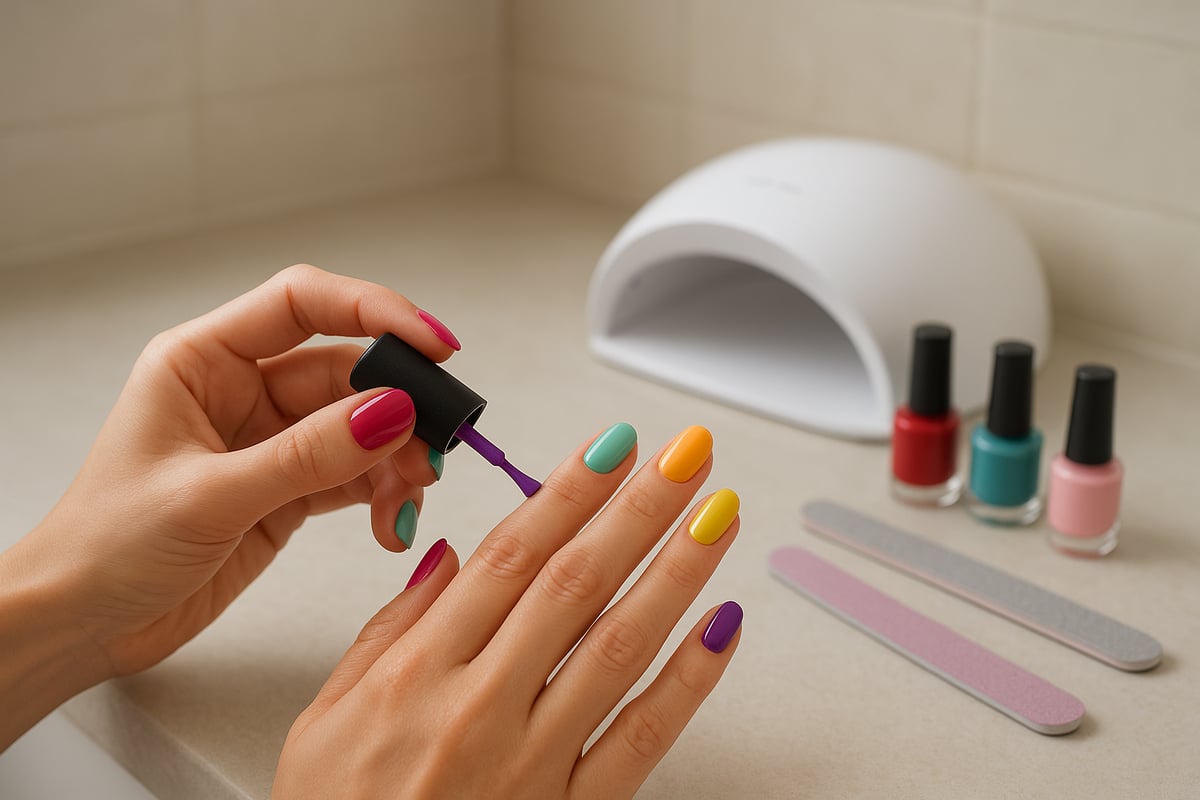
How to apply UV nail polish correctly: Step-by-step guide
With the right technique, you can achieve a professional UV nail polish manicure at home. Follow this structured guide to achieve a flawless result and enjoy the benefits of Make the most of UV nail polish.

Step 1: Apply Base Coat
The first step in every application is applying the Base Coat. This layer ensures optimal adhesion and protects your natural nail from discoloration.
Apply the Base Coat thinly and evenly to the prepared nails. Work carefully to the edges without touching the cuticles. Cure the layer under a UV or LED lamp. Curing times vary depending on the device, usually between 30 and 60 seconds.
For different needs, there are classic Base Coats and Builder Bases. Builder Bases offer more strength and are especially suitable for brittle nails or building up. Choose the variant that fits your nail type for optimal hold.
Step 2: Color Application
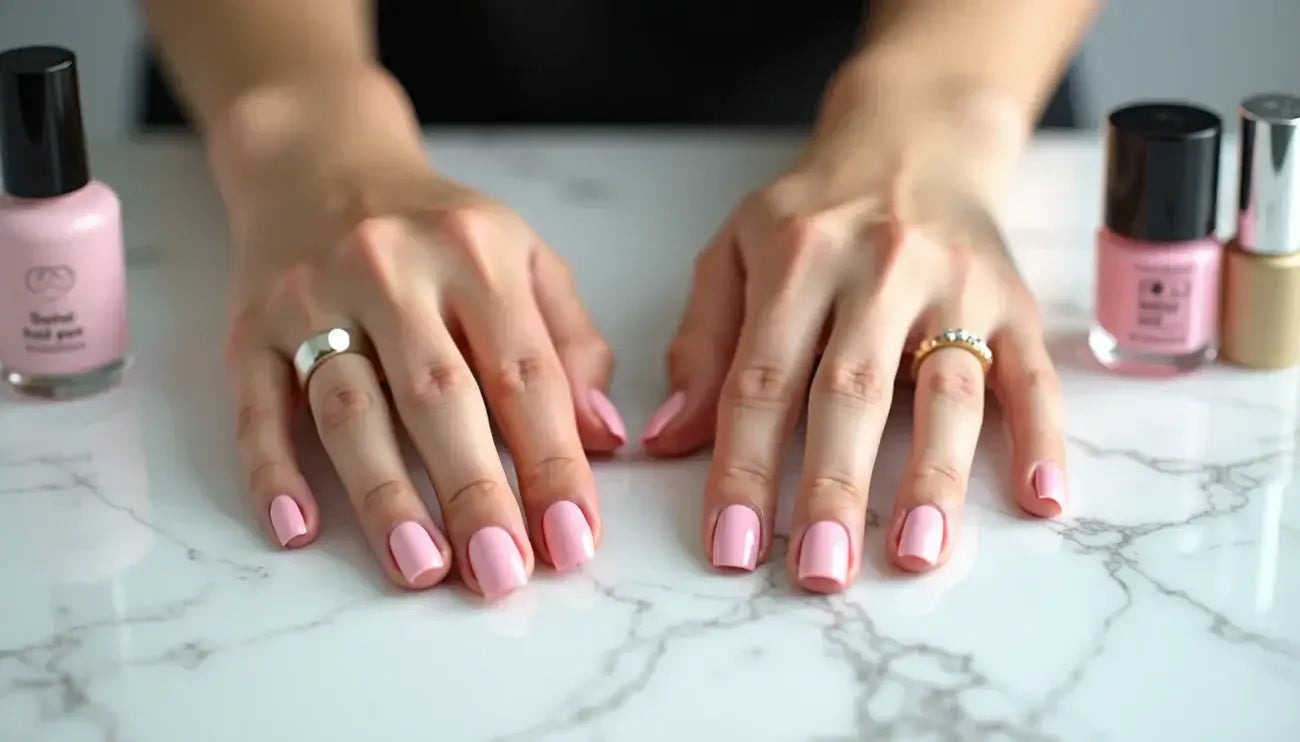
Now comes the creative part: Choose your favorite color from the current collection. In 2025, pastels, nudes, and bold tones are especially popular.
Apply the color in very thin layers. This prevents uneven polish or bubbles. Each layer should be fully cured under the lamp before applying the next. Follow the manufacturer's recommended curing times and do not exceed them.
Avoid applying layers that are too thick. This often leads to streaks or bubbles. With this method, you achieve a smooth, long-lasting result that UV nail polish differs from conventional polish.
Step 3: Top Coat for Shine and Protection
The Top Coat is indispensable to your To seal the nail and intensify the shine. There are various Top Coats, for example with glossy, matte, or glittery finishes. Current trends focus on matte and glossy looks.
Apply the Top Coat evenly and pay special attention to the nail tips to prevent chipping. Cure the layer thoroughly. After curing, remove the sticky layer with a cleaner.
The table gives you an overview of different Top Coat types:
| Top Coat Type | Finish | Special feature |
|---|---|---|
| Classic | High gloss | Standard shine |
| Matte | Matte | Trend look 2025 |
| Glitter | Glitter | Party and event look |
This is how your result stays resilient and radiant.
Step 4: Finishing and care
After the final curing, your nail polish is immediately durable. For neat edges and healthy nails, using a high-quality cuticle oil is recommended. A suitable cuticle oil for well-groomed nails helps keep the skin supple and perfects the manicure.
Use the oil daily to moisturize the cuticles. This keeps the area around the nail healthy and additionally supports durability.
To enjoy your results longer, wear gloves during housework. If small uneven spots or bubbles appear, you can gently smooth them with a buffer and repaint the area.
Pro tips for a perfect result
For a salon-like result, paint as close to the edge as possible without touching the skin. Small mistakes can be corrected with a fine brush before curing.
Use nail art stickers, glitter, or transfer foils to personalize your look. You can find inspiration on social media platforms and in current collections.
Make sure all layers remain thin. This prevents the color layer from becoming too thick and peeling off later. With a little practice and creativity, you can achieve professional results.
Common application mistakes and their solutions
Even experienced users sometimes encounter problems. Here are the most common mistakes and solutions:
- Polish peels at the tips: The nail edges are not properly coated or the polish is applied too thickly. Solution: Always coat the edges and apply multiple thin layers.
- Bubbling: too much product or too fast application. Solution: Let each layer cure well and do not shake the polish.
- Unsightly edges: overflow onto the skin. Solution: Remove excess polish with a brush before curing.
With these tips, you can avoid typical mistakes and fully benefit from the advantages.
Removing UV nail polish: gentle & effective
Removal requires special care to keep your nails healthy. Many users underestimate how important the right method is. Incorrect techniques can lead to brittle, stressed nails. With the right approach, the nail structure remains intact and you can enjoy your manicure for a long time.
Methods for removing the color
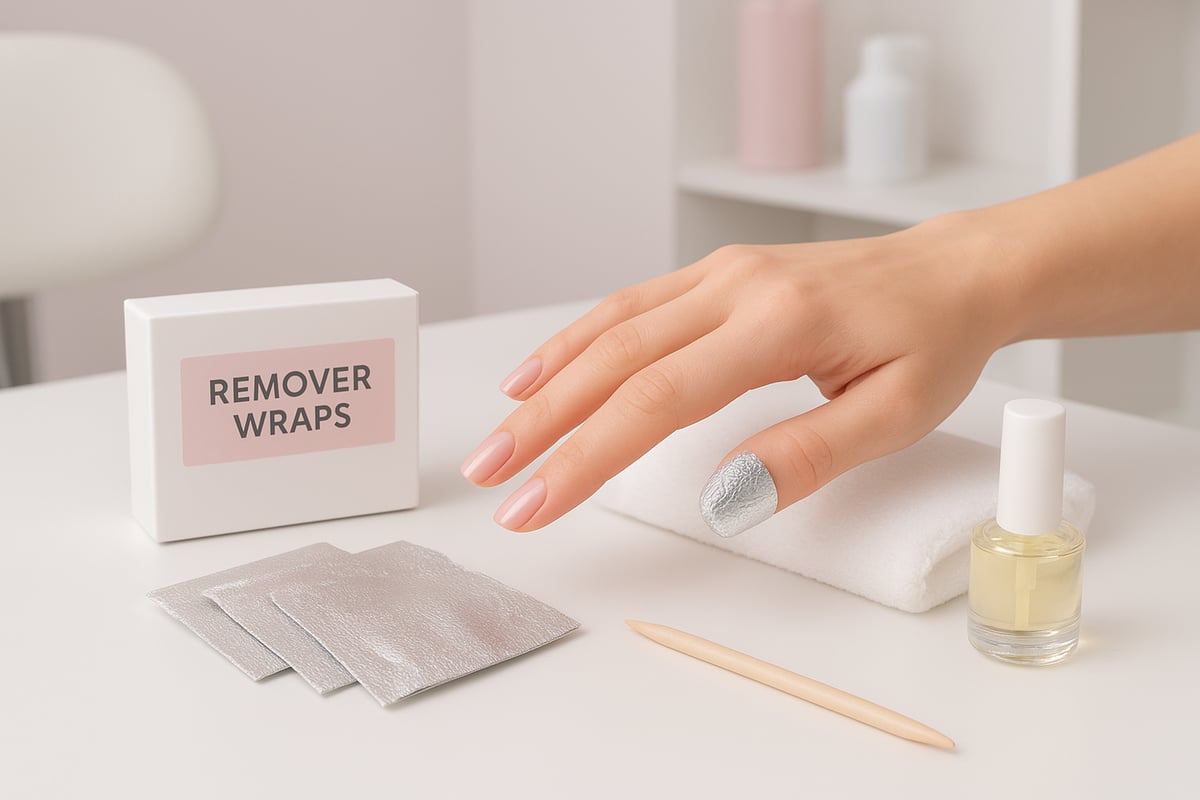
There are various methods for safe removal. The most common variant is the acetone method, where remover wraps or aluminum foil are used. A special remover is applied to a cotton pad, placed on the nail, and fixed with foil.
A particularly gentle alternative is special removers. They effectively dissolve the polish without unnecessarily irritating the nail plate. An overview and application instructions can be found at UV Nail Polish Remover Tips.
Mechanical removal by careful filing is possible but should be done with caution. Excessive filing can permanently damage the nails. Experts recommend using this method only in exceptional cases and very gently.
Step-by-step removal guide
Removing the color works best with a clear step-by-step guide. This way you optimally protect your nails:
- Slightly roughen the nail surface to break the seal.
- Apply remover to a cotton pad and place it on the nail.
- Wrap each finger individually with aluminum foil or special clips.
- Let the remover work for 10 to 15 minutes.
- Carefully remove the softened nail polish with a wooden stick or pusher.
After removal, a gentle aftercare with care oil or nail cream is recommended. This keeps the cuticles supple and helps the nails regenerate faster.
Nail care after removal
Even after removal, special care is important. Nails are often a bit dry and need moisture. Regularly use nail oils and rich hand creams to support regeneration.
Who Anyone who wears UV nail polish more frequently should occasionally give their nails a break. Statistics show that users who take regular care breaks maintain healthier nails. High-quality care products help strengthen the natural nail structure and prevent cracks.
With a good care routine, you can significantly minimize the strain on your nails and enjoy strong, shiny nails for a long time.
Avoid mistakes and maintain nail health
When removing With UV nail polishes, it is crucial not to use force. Never try to scrape off polish residues, as this can damage the nail plate. Allow your nails to "breathe" between applications as much as possible so they can recover.
Rely on gentle products to avoid allergies. Always follow official recommendations and work carefully to prevent nail damage.
With these tips, your manicure will not only stay beautiful but also safe and healthy.
Trends & Innovations 2025: Colors, Effects & New Products
The world of UV nail polish remains exciting and varied. New colors, innovative products, and a strong focus on sustainability shape the current trends. Discover which highlights and developments will take your manicure to the next level.
Current color trends and finishes
This year is dominated especially by classic reds, delicate nude shades, and fresh pastels. Glitter polishes are particularly popular for special occasions or as eye-catchers in everyday life.
Trend finishes like matte, glossy, thermo, neon, or pearl also set new accents. In spring and summer, bright, lively colors are in demand, while in autumn and winter, darker tones like burgundy or pine green convince.
Popular finishes at a glance:
- Matte: Minimalistic and modern
- Glossy: Classic high shine
- Thermo: Color change with temperature
- Glitter: For sparkling highlights
Innovative products and collections
The innovative power in the field of UV nail polishes is currently especially evident in new formulas and application systems. 3in1 UV polishes, which combine base, color, and top coat in one product, greatly simplify application. Builder base and easy-off systems provide stronger yet gentler manicures.
Market leaders regularly release limited collections that pick up current trend colors and effects. More and more manufacturers are focusing on vegan and environmentally friendly alternatives, supporting the desire for sustainable beauty products.
Buying guide: Finding the right UV nail polish set
The path to the perfect manicure begins with choosing the right UV nail polish set. Whether beginner or advanced, the right equipment is crucial for an optimal result. Below you will find all important tips for selecting, applying, and purchasing UV nail polish products.
Starter sets vs. individual products
Starter sets are ideal for entering the world of UV nail polish. They offer all essential components, such as lamp, base and top coat, various colors, and the necessary accessories. This makes starting easy and saves you money compared to buying individually.
Those who already have experience like to choose individual products to expand their equipment individually. You can select colors as you wish or add special products for your nail type.
A recommended set can be found, for example, in the UV Nail Polish Starter Set, which offers all the important components for successful application.
Selection criteria for UV nail polish & accessories
When buying, pay attention to high coverage and long durability. The ingredients should comply with EU standards and be as gentle as possible. Check whether the polish is suitable for your UV/LED lamp, especially regarding wattage and timer function.
Important criteria at a glance:
- Coverage and color intensity
- Durability and chip resistance
- Compatibility with your lamp
- Ingredients according to EU cosmetics regulation
- Existing safety certificates
A UV nail polish set that meets these requirements ensures uncomplicated and safe application.
FAQ: Frequently asked questions about UV nail polish
Many questions about UV nail polish keep coming up. Here you will find the most important answers for safe and successful application at home.
Application & durability
How long does it last UV nail polish?
With correct application, the result remains flawless for up to three weeks and hardly chips. Durability depends on nail preparation, proper curing, and care.
You can Use UV nail polish as often as your nails can tolerate. It is important to take breaks between applications to maintain nail health.
For sensitive nails, a particularly gentle preparation and the use of special products without irritating ingredients is recommended.
Safety & Health
Is UV nail polish harmful?
With proper use and compliance with the EU Cosmetics Regulation, it is considered UV nail polish is considered safe. UV light is only used briefly, but you should still protect your skin by applying thin layers and possibly using gloves.
Pay attention to the ingredients. Avoid products with known allergens and inform yourself about current regulations, such as the use of nanomaterials. You can find a detailed report in the EU Cosmetics Regulation on Nanomaterials.
For allergy sufferers, there are special polishes that are appropriately labeled.
Tips & Troubleshooting
What to do with bubbles or chipping?
Common causes are layers that are too thick, incorrect curing times, or insufficient cleaning. Apply Always apply UV nail polish in thin layers and ensure clean nails.
If you want to remove UV nail polish faster, use special remover wraps and let the polish soak in sufficiently. For beginners, a starter set with step-by-step instructions is suitable.
Of course you can Also apply UV nail polish on toenails. Pay special attention to thorough preparation and curing there. For beginners, it is recommended to practice on the fingers first to get a feel for the material.
You have now learned all the important tips and steps to achieve a perfect UV manicure like a professional right at home. Whether you value durability, gentle application, or trendy colors – with the right system, you will achieve a flawless result that lasts long and impresses. Want to take the next step and make it especially easy? Then try our innovative 1 Step System to get well-groomed nails in record time, without any additional base or top coat.