UV Nail Polish Instructions: Like in the Salon - Step by Step to the Perfect Finish
Do you finally want a manicure that looks perfect for weeks? UV nail polish can last up to 4 weeks with proper application and impresses with its remarkable durability of 2-3 weeks without chipping or discoloration.
The key lies in the precise application technique. With the right method, you create a professional finish indistinguishable from salon results. UV polish cures completely within just two minutes – meaning: no waiting time, no accidental dents, and immediately durable nails.
Proper UV nail polish application is the foundation for long-lasting beauty of your nails. With the correct technique, you achieve not only the desired durability but also the flawless shine and even color distribution like from the nail salon.
Here you will learn the professional step-by-step guide for perfect UV nail polish application at home – from optimal nail preparation to the final sealing.
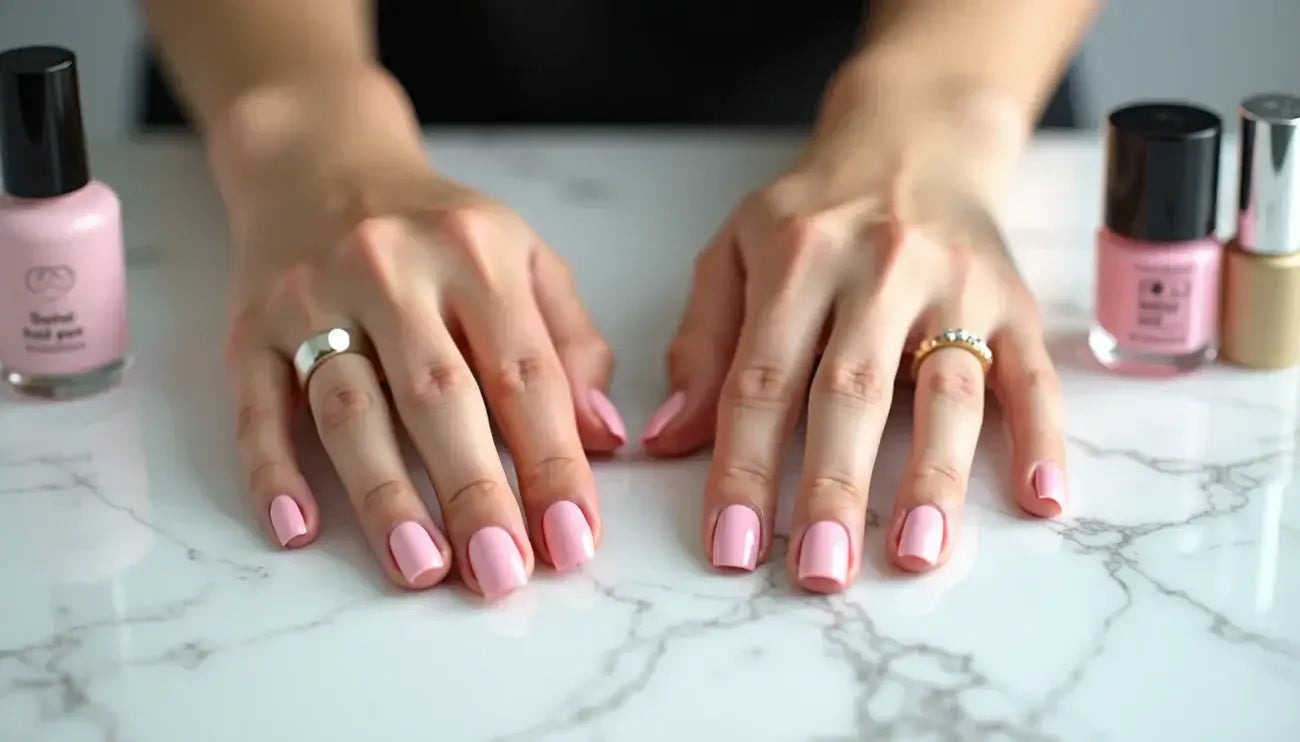
The basics: What you need to know about UV nail polish

Image Source: WWD
UV nail polish differs fundamentally from conventional nail polish. This special formula of thick UV gel and colored pigments cures only under UV or LED light exposure. While regular polish dries in the air, UV polish requires this targeted light exposure for complete curing.
Your basic kit for the perfect UV manicure:
-
UV or LED lamp for curing the polish
-
Base coat and top coat for optimal adhesion and sealing
-
UV nail polish in your desired color
-
Nail file and buffer for nail preparation
-
Orange sticks for gently pushing back the cuticles
-
Nail cleaner and lint-free wipes for degreasing
-
Primer (optional) for especially strong adhesion
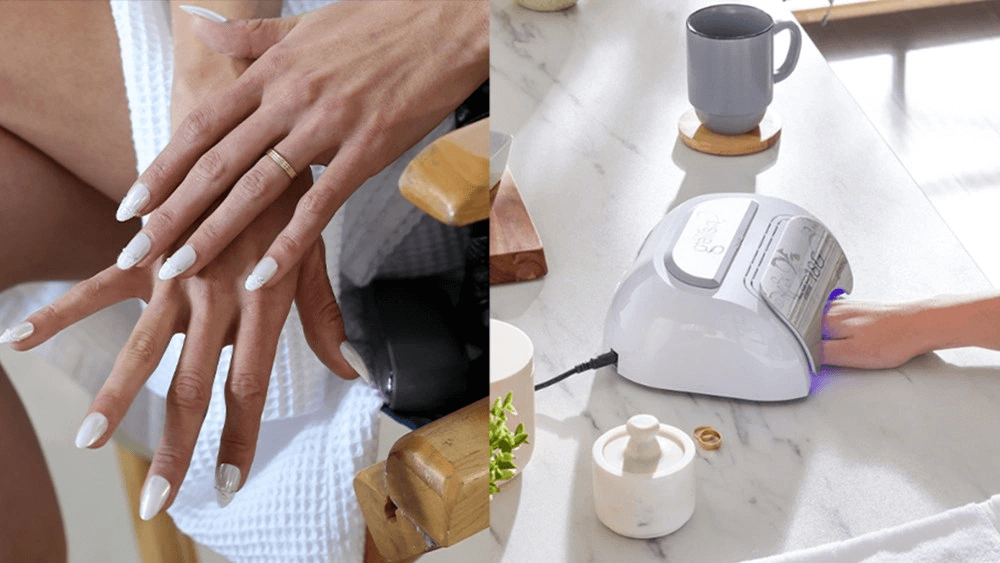
LED lamps cure UV polish in just 30-60 seconds, while UV lamps take about 120 seconds. LED lamps also have a significantly longer lifespan of 5,000-10,000 hours compared to 4,000 hours for UV lamps.
Important safety notice: UV radiation carries a potential skin cancer risk. Dermatologists therefore recommend protecting the skin with a UV blocker before application. LED lamps are gentler due to the shorter exposure time.
The benefits speak for themselves: UV nail polish lasts 2-4 weeks, cures instantly and fully, and shows exceptional resistance to chipping and discoloration.
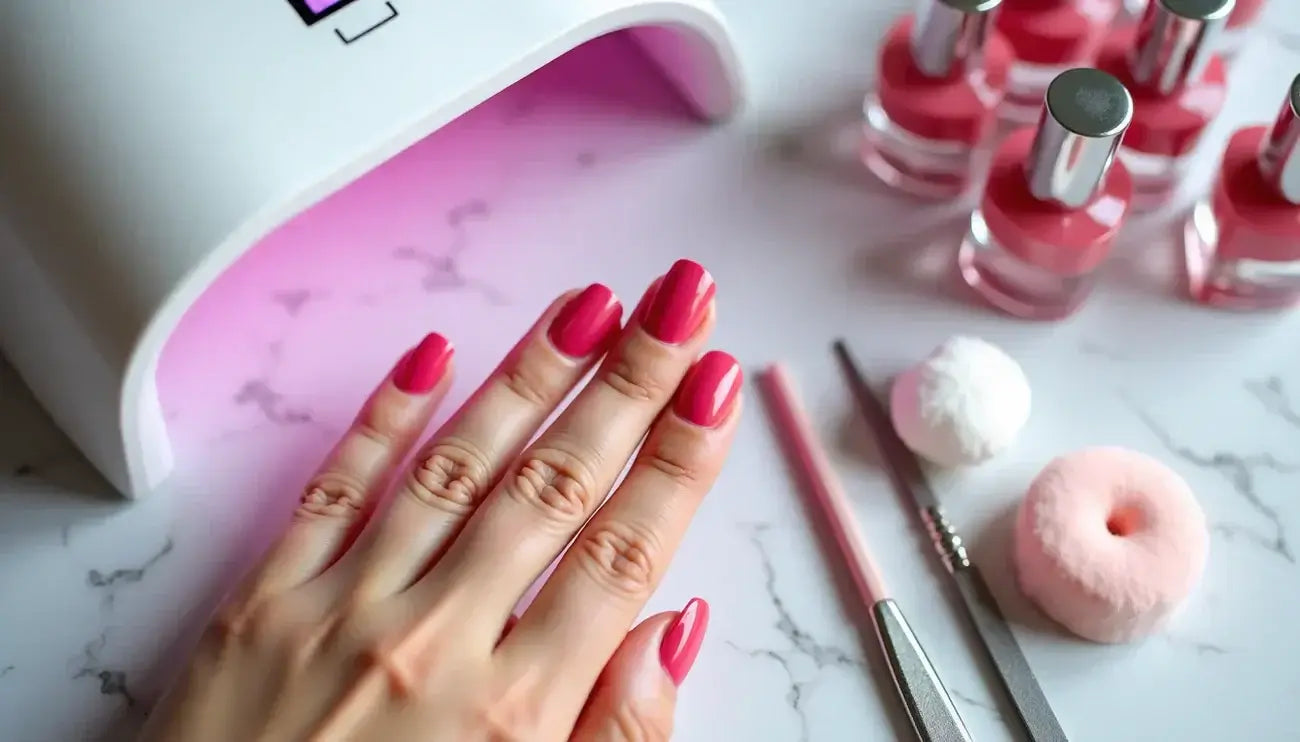
The professional application: Step by step to the perfect manicure
The UV nail polish application requires precise technique and the correct order. With these five professional steps, you will achieve a flawless result like from a nail salon:
1. Perfect Nail Preparation File your nails into the desired shape, making sure to file in only one direction. Gently push back the cuticles and mattify the nail surface with a buffer. This preparation creates the optimal adhesion base for long-lasting results.
2. Apply Base Coat as a Foundation Apply a thin, even layer of base coat and let it cure completely. The base coat protects your natural nails and guarantees perfect adhesion of the color polish.
3. Build up color polish in thin layers Apply the UV nail polish in two very thin layers. Less is definitely more here! Each layer is cured individually. Keep the nail edges free to prevent later lifting.
4. Top coat for shine and protection Seal your manicure with an even layer of top coat and cure it. This gives you the professional high gloss and additional protection against chipping.
5. Final cleaning Remove the sticky dispersion layer with a cleaner and a lint-free cloth. Never touch the nails with your fingers between layers to avoid unevenness.
Pro tip: If polish gets on the skin around the nail, remove it immediately with a cotton swab soaked in nail polish remover.
With this systematic approach, you achieve salon-quality results at home with significantly lower costs and complete time flexibility.
Gently remove UV nail polish and optimally care for your nails
After weeks of perfect durability, it's time for a new manicure. Gentle removal of your UV nail polish is crucial to keep your nails healthy and strong. An acetone-free UV nail polish remover protects your nail structure and prevents skin from drying out.
The professional removal technique in 5 steps:
-
Roughen the surface of the polish with a fine nail file or buffer
-
Soak cotton pads with UV nail polish remover
-
Place them on your nails and secure with aluminum foil or special remover clips
-
Let everything soak for about 10 minutes
-
Gently remove the softened polish with a rosewood stick
Careful aftercare is essential after removal. The removal process puts a lot of strain on your nails, so thorough regeneration is important. First, wash your hands thoroughly and then apply a high-quality nail oil that penetrates deeply into the nail structure and strengthens from within.
Weakened or damaged nails benefit from targeted regeneration products. Treatments with a triple protein complex and strengthening ceramides are especially effective, noticeably restoring brittle nails within just 5 days.
Give your nails enough rest between applications. The resting time should be at least as long as the previous wear time of the UV polish. This break allows your nails to fully regenerate and be optimally prepared for the next manicure.
The perfect manicure is in your hands
With the right technique, you can achieve a UV nail polish application indistinguishable from professional salon results. Careful nail preparation and precise application of thin layers are the keys to a flawless manicure that looks perfect for up to four weeks.
Proper application not only saves time and costs, but also gives you the freedom to get creative anytime. UV nail polish offers clear advantages over conventional polishes: longer durability, immediate wear resistance, and resilient results without chipping.
Don't forget proper nail care between applications. Regular breaks and intensive care after polish removal keep your nails healthy and strong.
With this professional guide, you'll quickly become an expert in your own manicure – flawless results like from the nail salon, conveniently from home.
FAQs
Q1. How do I apply UV nail polish correctly? First, apply a base coat and cure it. Then apply two thin layers of colored UV nail polish, curing each layer. Finally, apply a top coat for shine and protection. Cure each layer under a UV or LED lamp.
Q2. How long does UV nail polish last? UV nail polish can last 2 to 4 weeks with proper application. The durability depends on the product quality, application technique, and individual nail condition.
Q3. Is special preparation of the nails necessary for UV nail polish? Yes, preparation is important. File the nails into shape, push back the cuticles, and lightly matt the nail surface. This improves the adhesion of the UV nail polish and ensures a professional result.
Q4. How do I gently remove UV nail polish? Lightly roughen the surface, soak cotton pads with UV nail polish remover, and wrap the nails for about 10 minutes. Then carefully remove the softened polish with a rosewood stick. Intensive nail care afterwards is important.
Q5. Can I apply UV nail polish at home? Yes, with the right equipment and technique, you can easily apply UV nail polish at home. You need a UV or LED lamp, UV nail polish products, and some nail care tools. With a bit of practice, you'll achieve professional results.